Search Knowledge Base by Keyword
GHS Hazard Pictograms, Mandatory Safety Signs and the NFPA Hazard Rating System
SUMMARY:
The Hazard Communication Standard (HCS) requires pictograms on labels to alert users of the chemical hazards to which they may be exposed. Each pictogram consists of a symbol on a white background framed within a red border and represents a distinct hazard, the pictogram on the label is determined by the chemical hazard classification, please check the official OSHA web page for more details.
You may also stumble upon circular blue signs with various white symbols, these ones correspond to mandatory health and safety signs, they signal the need for certain behaviours and they convey information that you must comply with in order to be safe. They are often used to notify the need of PPE (Personal Protective Equipment).
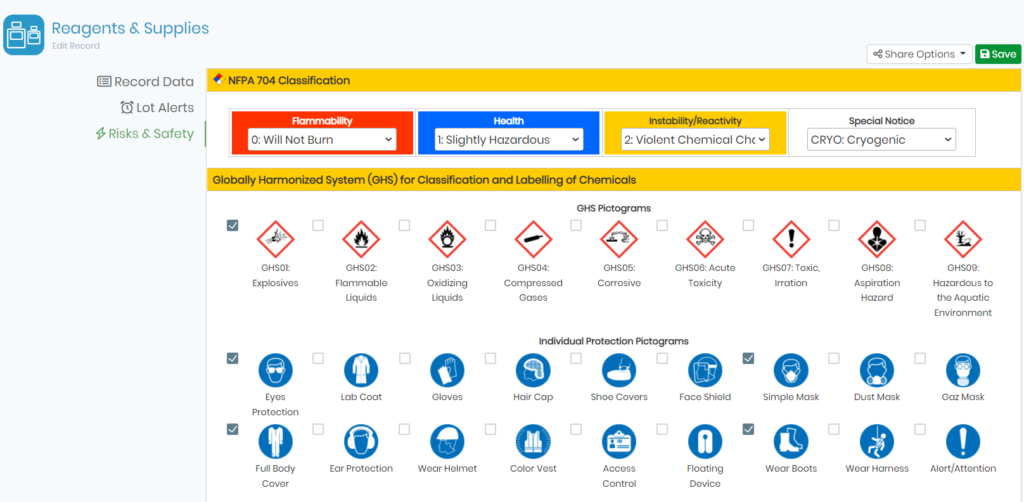
LabCollector ![]() offers the possibility to specify for each chemical, reagent or supply the corresponding hazard pictograms, mandatory safety signs and also the appropriate NFPA classification.
offers the possibility to specify for each chemical, reagent or supply the corresponding hazard pictograms, mandatory safety signs and also the appropriate NFPA classification.
1. What are GHS Hazard Pictograms ?
2. What are Individual Protection Pictograms ?
3. What is the NFPA Hazard Rating System ?
4. How can I specify Risks & Safety options inside LabCollector ?
![]()
1. What are GHS Hazard Pictograms ?
Down below is a full list of GHS hazard pictograms that you can also find inside LabCollector:
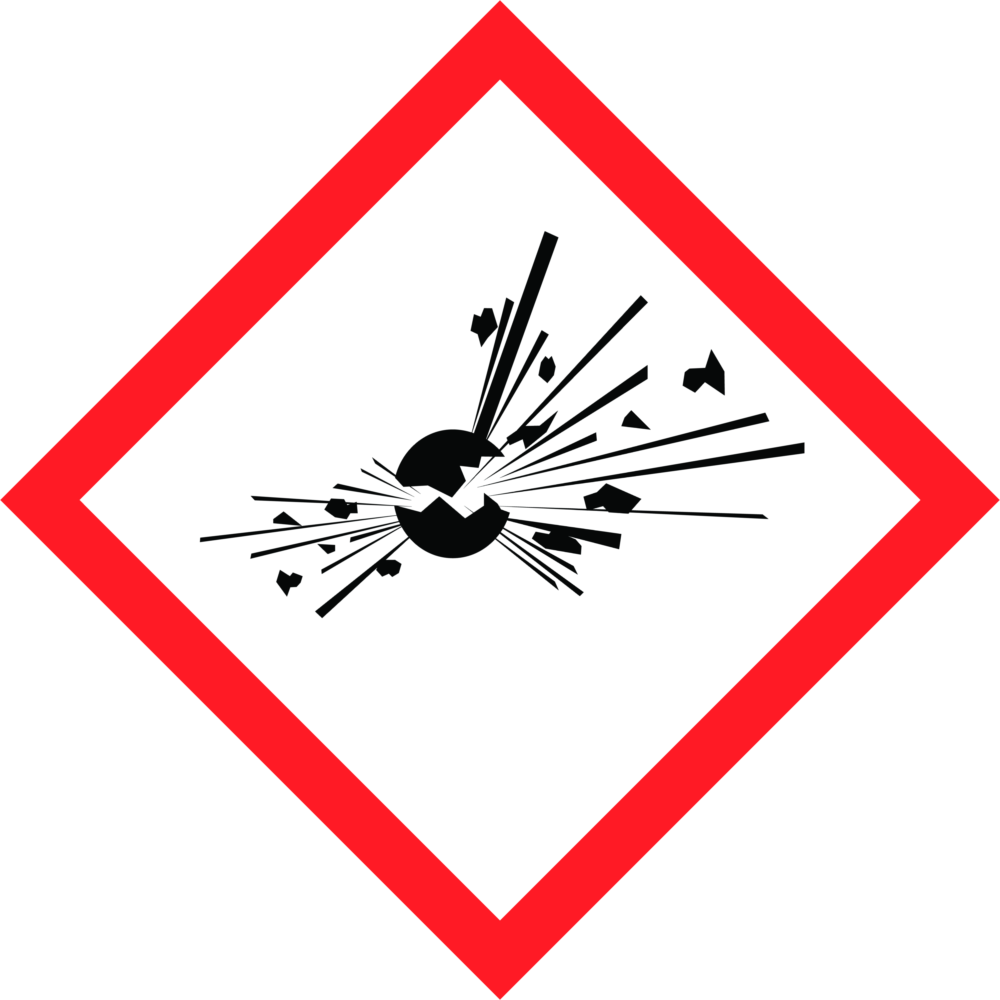
Unstable explosives: This pictogram refers to explosives, including organic peroxides and highly unstable material at risk of exploding even without exposure to air (self-reactives). |
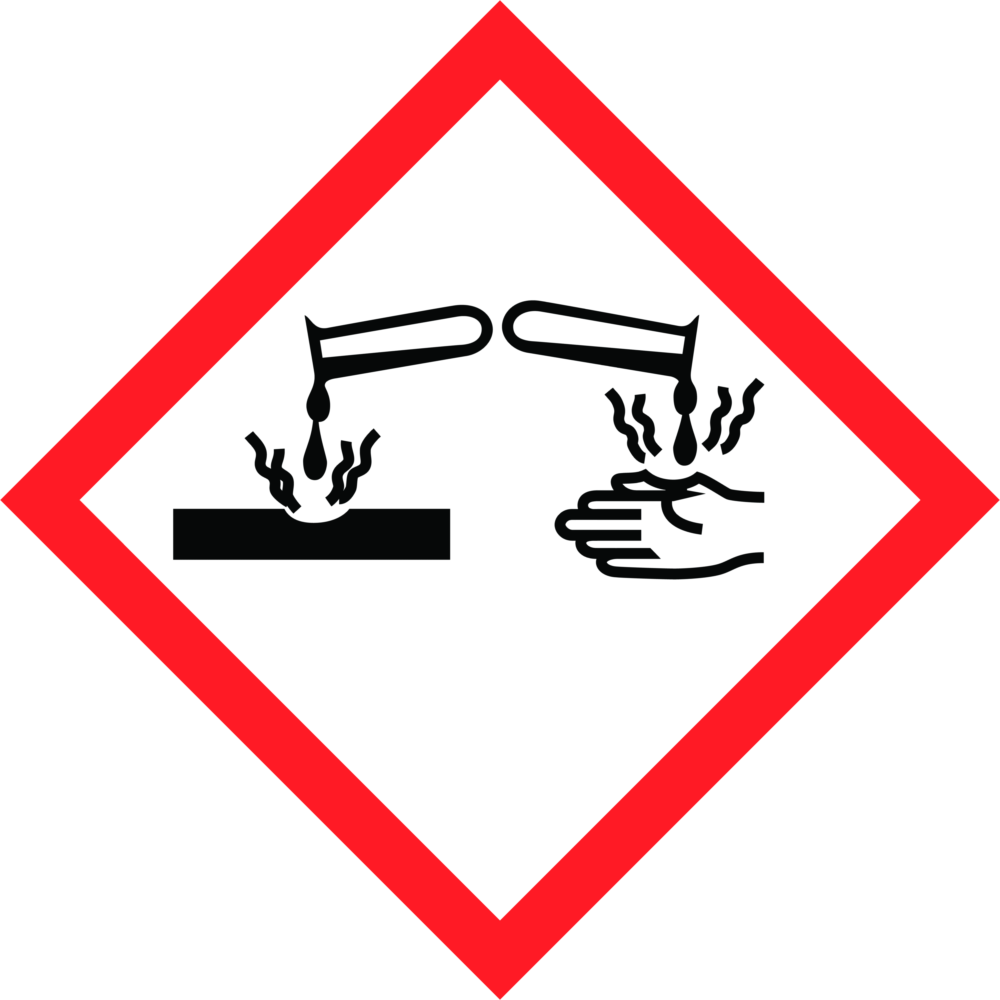
Corrosive Material: Substances labeled with this pictogram are strong chemicals that are able to destroy or damage other substances with which they come into contact. |
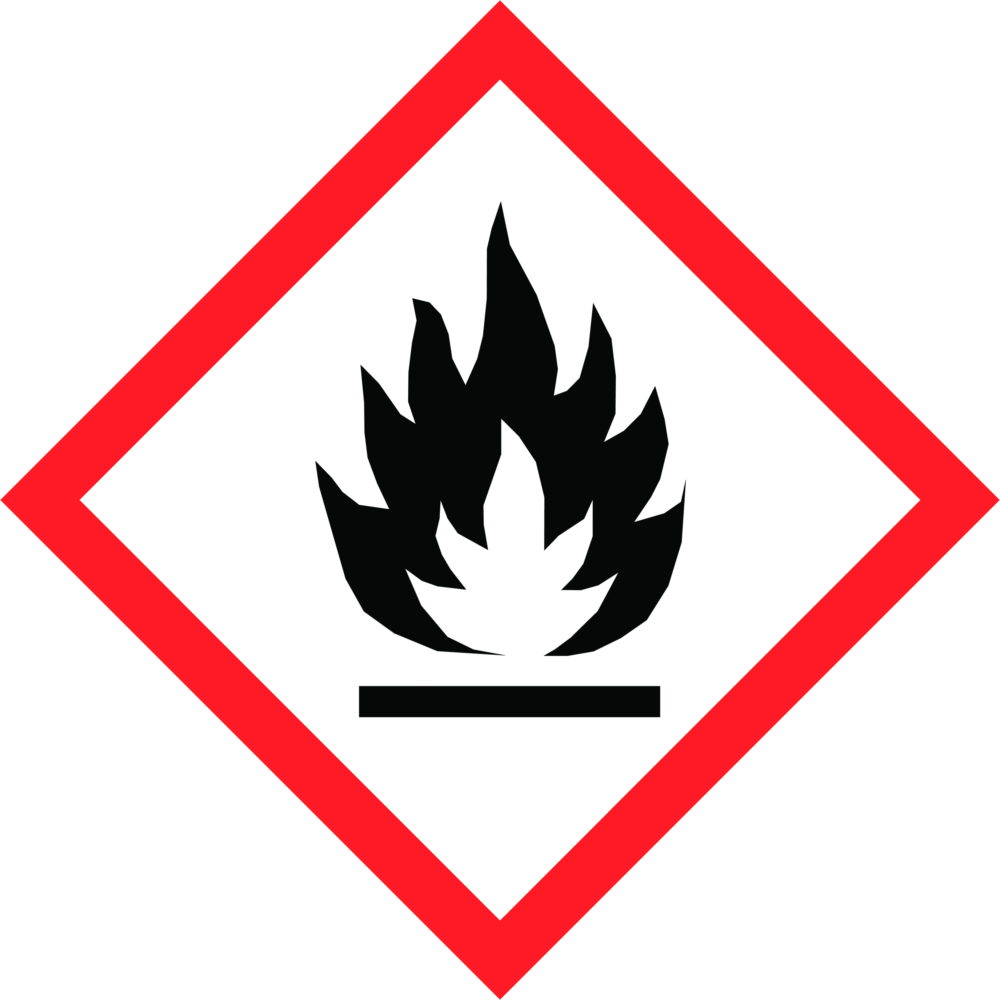
Flammable Material: chemicals labeled with this pictogram are flammable and you should store them accordingly. |
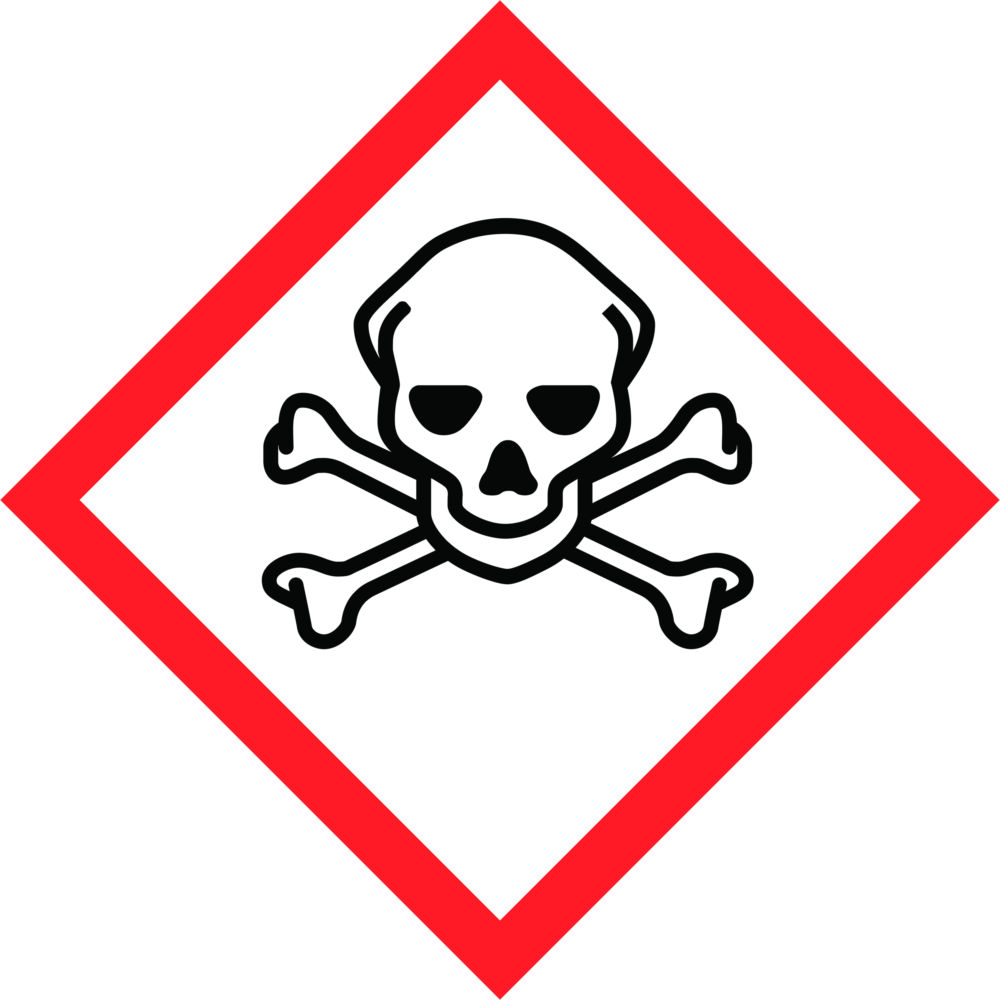
Toxic Material: Substances labeled with this pictogram can cause death if swallowed, inhaled, or absorbed through the skin. |
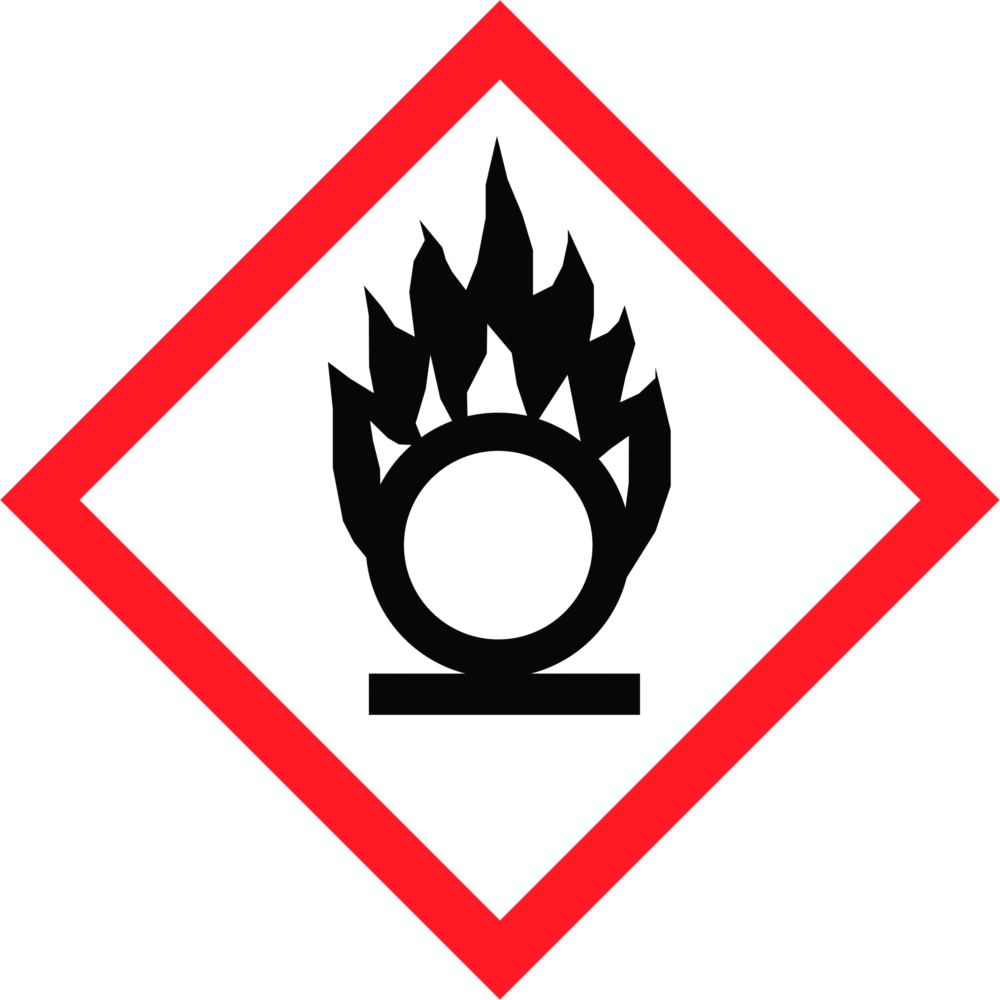
Oxidizing Material: Substances labeled with this pictogram are involved in an oxidation-reduction reaction, they usually transfer oxygen to another chemical substrate including flammable substances. Therefore, you should always store them separately. |
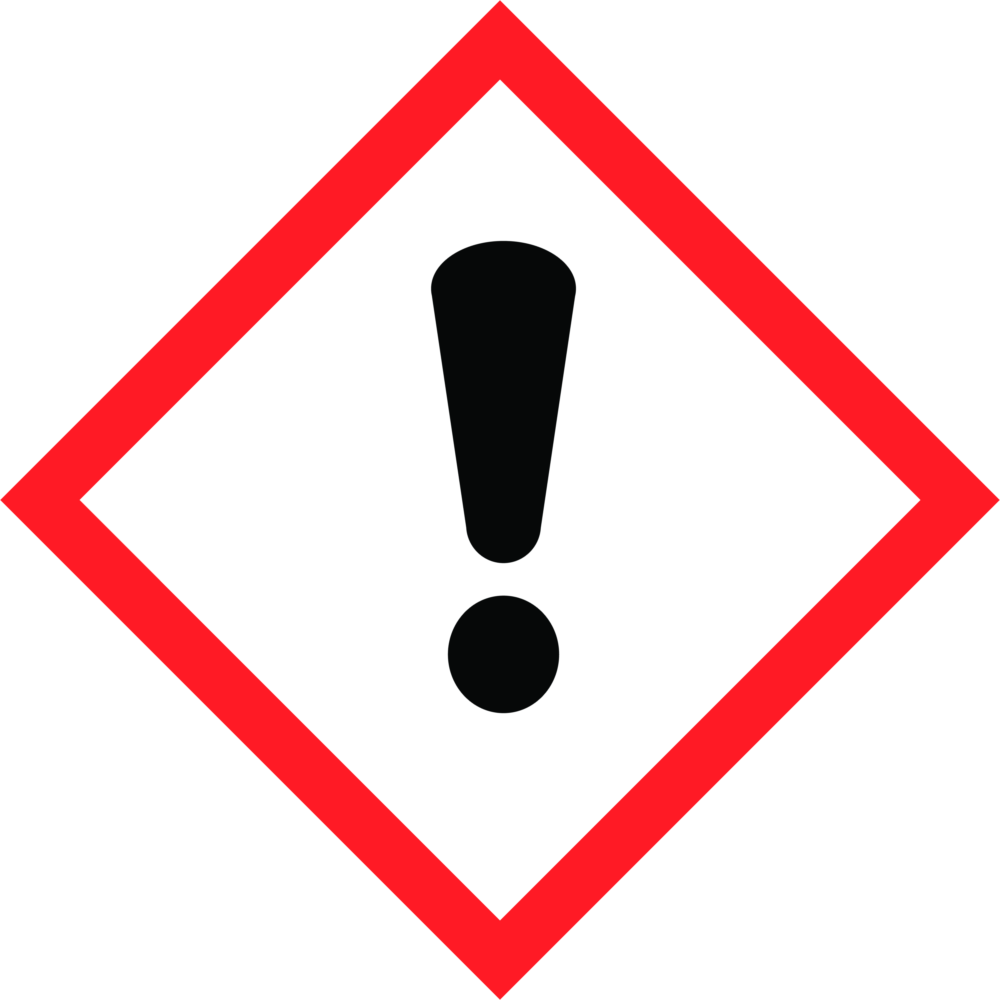
Irritant: These substances can irritate your eyes and skin, causing itchiness, soreness, redness, and blistering. They can also cause toxicity if you inhale or swallow them. |
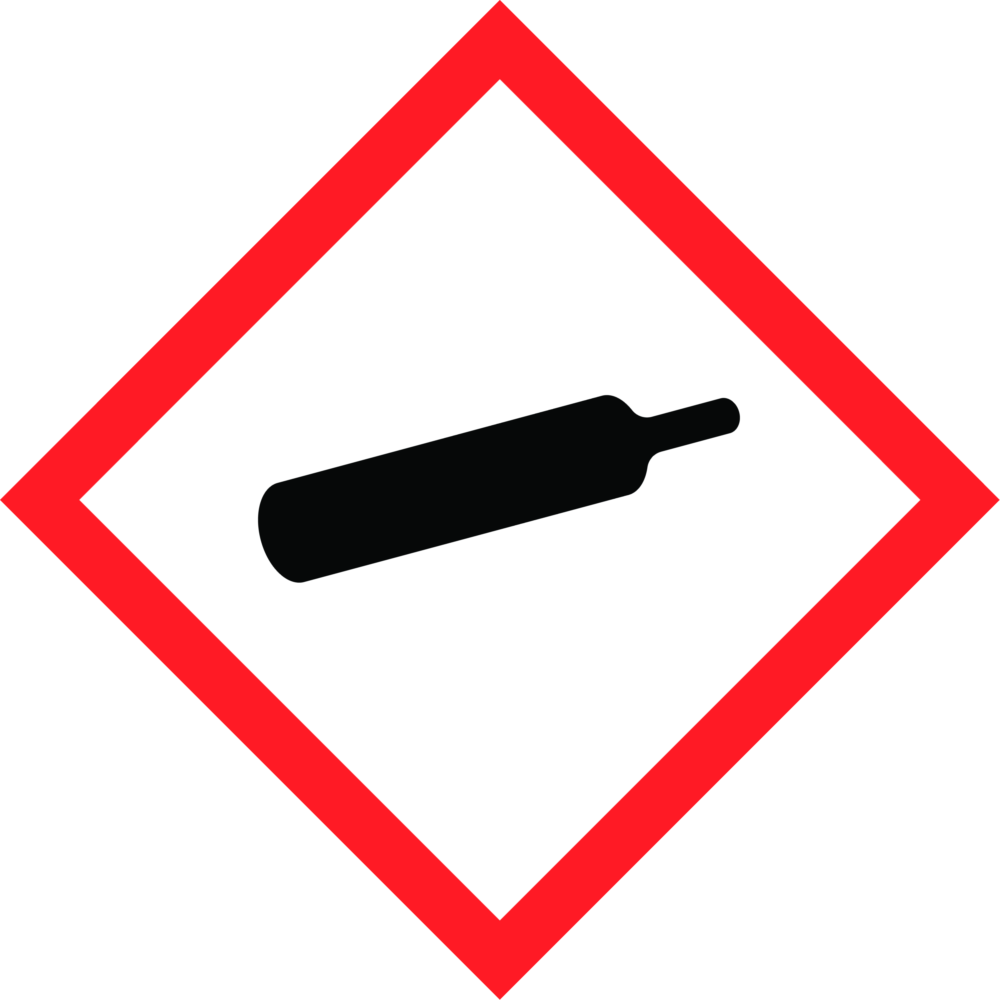
Compressed gases: This pictogram refers to gases that are stored under pressure, such as ammonia or liquid nitorgen. |
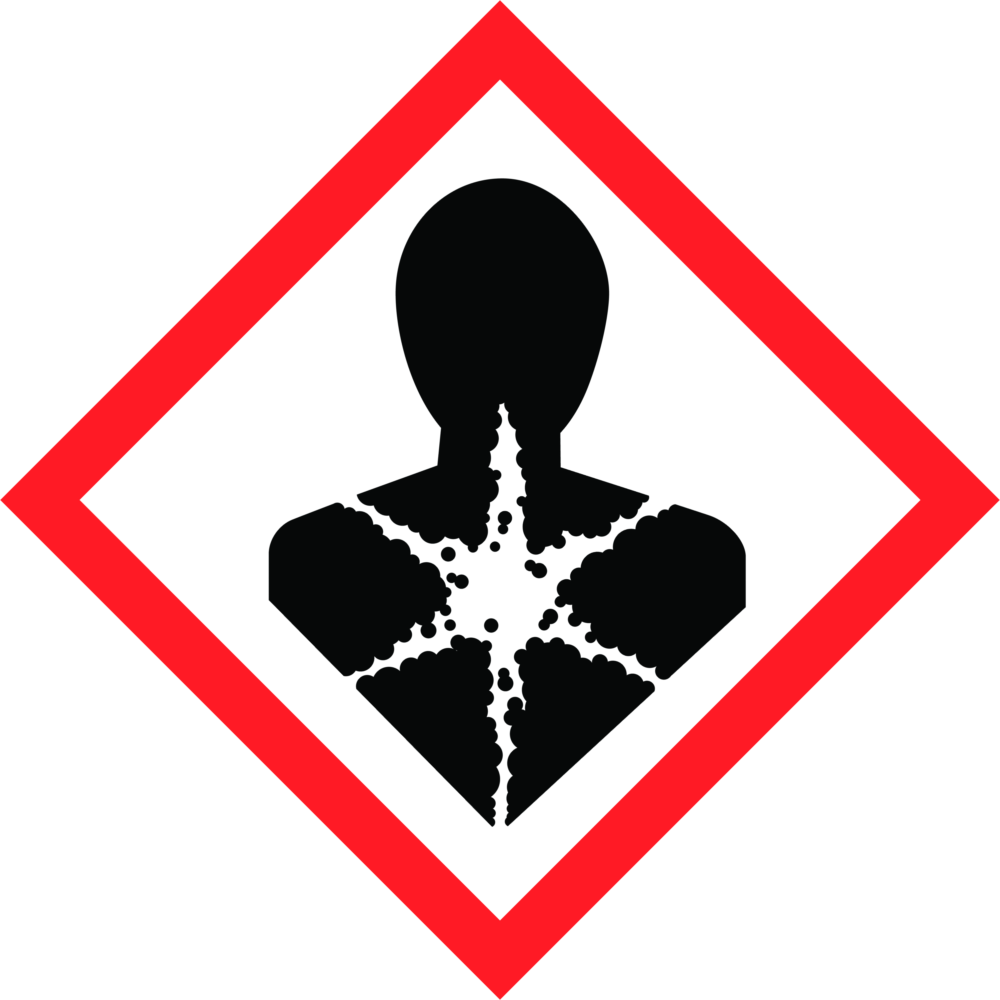
Health Hazard: Chemicals in this category can cause you serious health damage, including reproductive toxicity, problems with your respiratory system, germ cell mutagenicity, and carcinogenicity. |
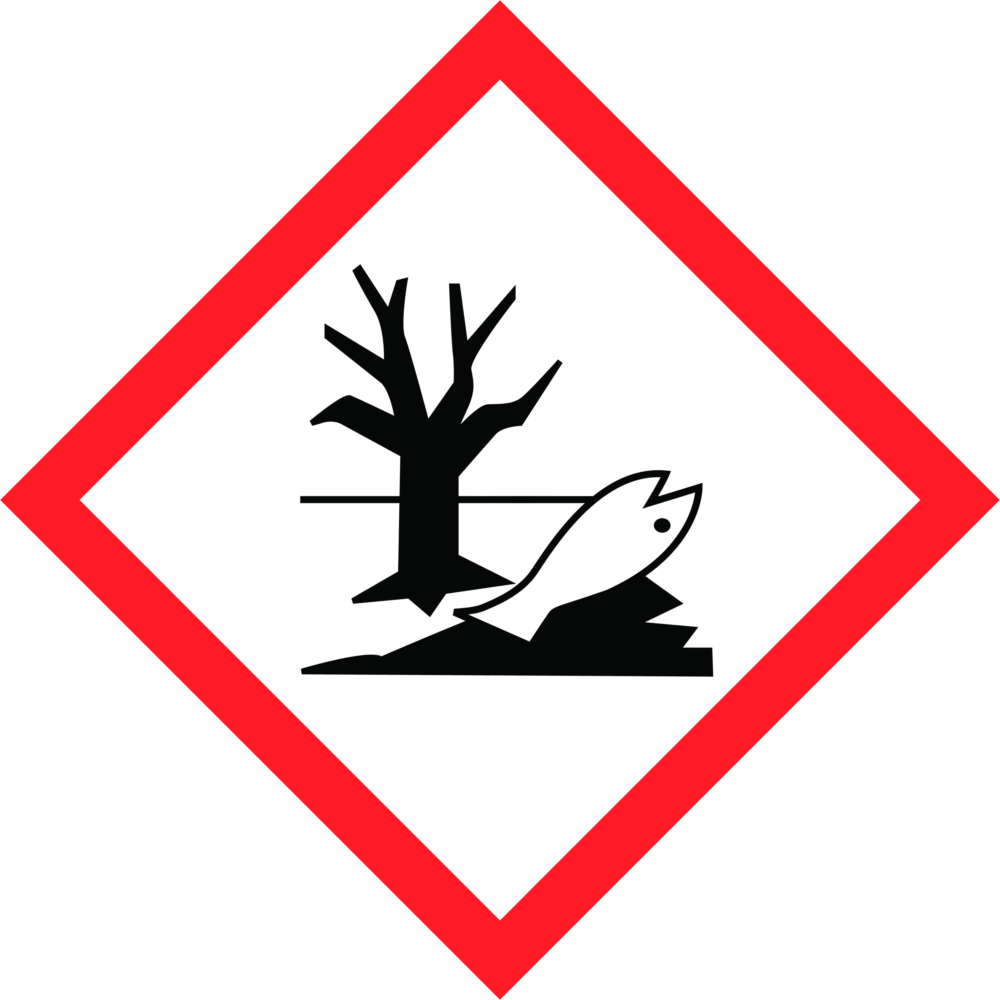
Environmental Hazard: These chemicals are potentially hazardous to the environment; if not properly disposed of, they can contaminate soil and water and can be lethal for aquatic animals and trees. |
|
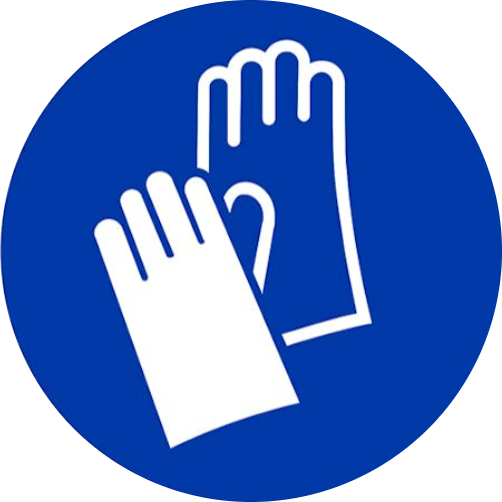 Gloves Required: This sign would help you identify when hand protection should be worn for handling hazardous materials. It is important to choose the appropriate type of glove for the hazard present, such as chemical resistant gloves, heat resistant gloves, etc. Gloves Required: This sign would help you identify when hand protection should be worn for handling hazardous materials. It is important to choose the appropriate type of glove for the hazard present, such as chemical resistant gloves, heat resistant gloves, etc. |
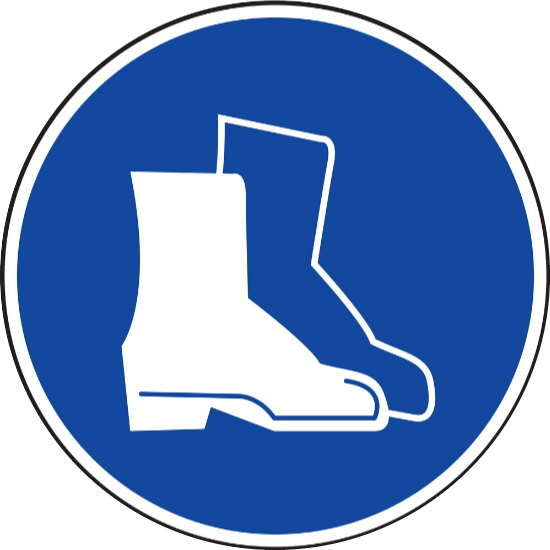 Boots Required: This sign indicates when street shoes are not adequate for certain lab-related tasks. Chemical resistant overshoes or boots should be used to avoid possible exposure to corrosive chemicals or large quantities of solvents or water that might penetrate normal footwear. Boots Required: This sign indicates when street shoes are not adequate for certain lab-related tasks. Chemical resistant overshoes or boots should be used to avoid possible exposure to corrosive chemicals or large quantities of solvents or water that might penetrate normal footwear. |

Alert/Attention: This sign refer to the presence of a hazard in the area, professionals are requested to be extremely careful. |
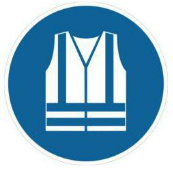
Color vest: High visibility clothing or vest must be worn in areas that diplay this kind of pictograms. |
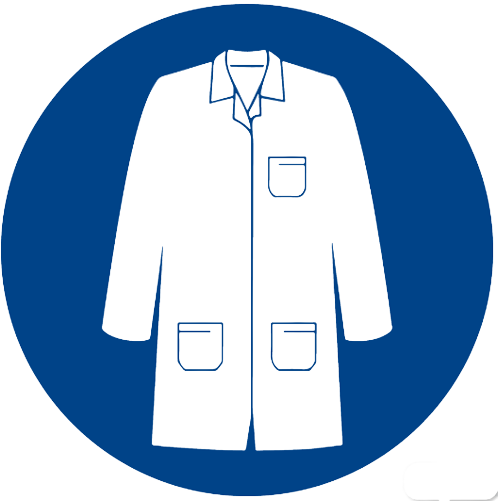 Protective Clothing: This sign indicates that a lab coat or other protective clothing must be worn. Protective Clothing: This sign indicates that a lab coat or other protective clothing must be worn. |

Wear Helmet: This sign informs visitors and workers about the need for safety helmets in specific areas. This reduces the risk of injury. |
 Safety Glasses: The eye protection safety sign indicates there is a possibility of chemical, environmental, radiological, or mechanical irritants and hazards in the laboratory. Therefore, safety glasses should be worn.
|

Full body cover: This sign shows the need to wear a full body cover that should protect professionals from a potential harm that could be present in the environment. |
|
Hair cap: This sign displays the necessity to wear a hair cap, not only to protect the person’s hair but also to protect the work environment from potential debris/objects and/or contaminants that could be carried out by the person’s hair. |
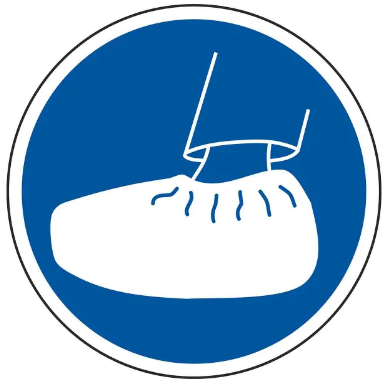
Shoe protection: This sign displays the need to wear a shoe protection, not only to protect the person’s feet and shoes but also to protect the work environment from potential debris/objects and/or contaminants that could be carried out by the person’s shoe. |
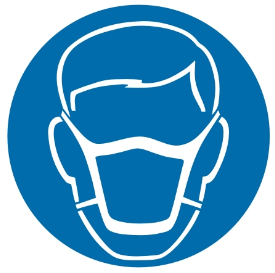 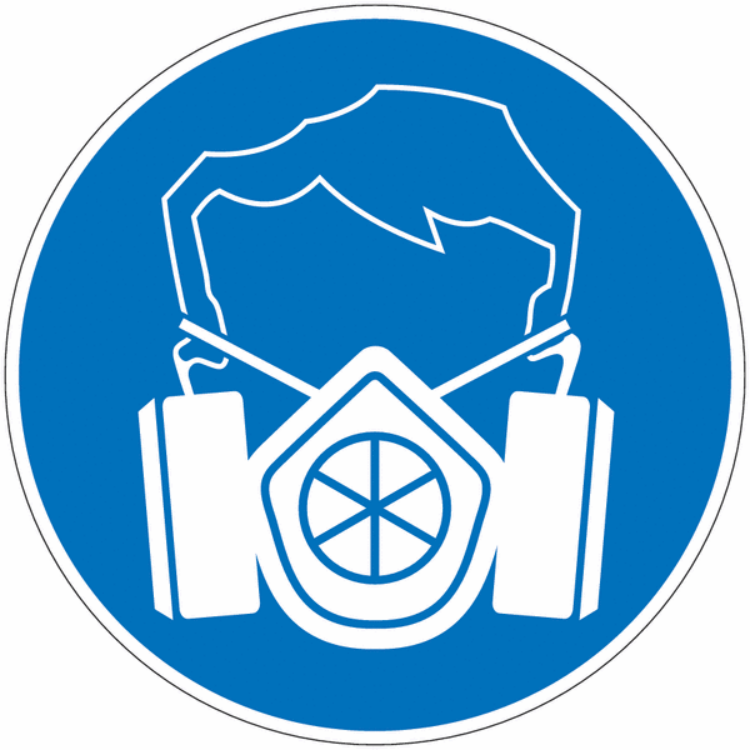 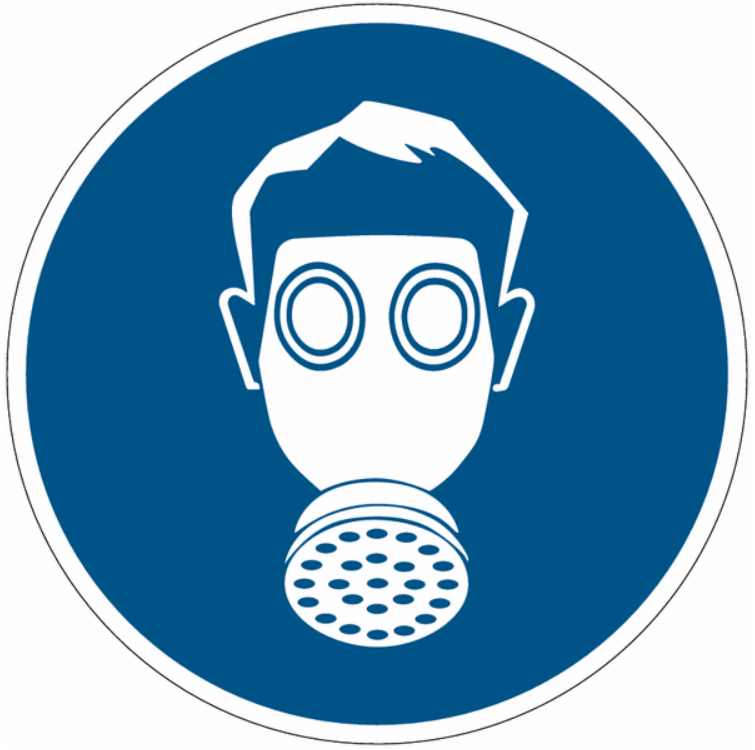 Breathing Masks: Respirators are designed to prevent contaminated air from entering the body. There are three types of masks that you can select inside LabCollector : Simple masks, Dust Masks, and Gas Masks.
|
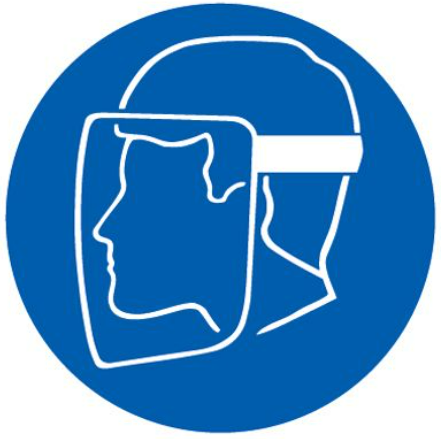
Face Shields: This sign indicates that a large face shield, similar to the glass shield on a motorcycle helmet, must be worn when executing experiments that carry the potential of causing an explosion. |
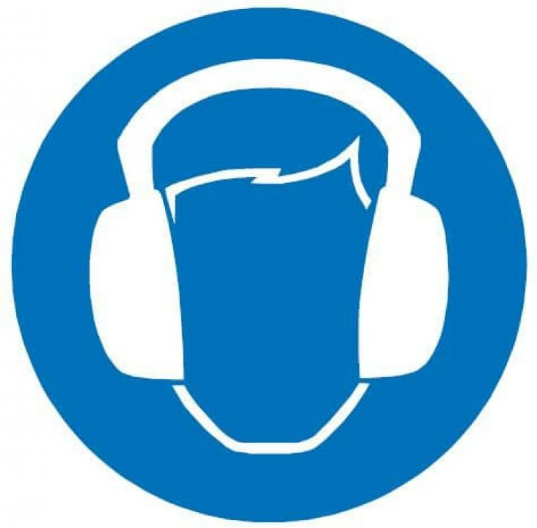
Ear protection: The ear protection safety symbol indicates that lab workers are in a dangerously high decibel noise range. Therefore, they must wear a hearing protection device. |

Access control: This sign shows the necessity to put a badge that could display the person’s identity (name and/or photo), in order to verify personnel access to certain restricted laboratory areas. |
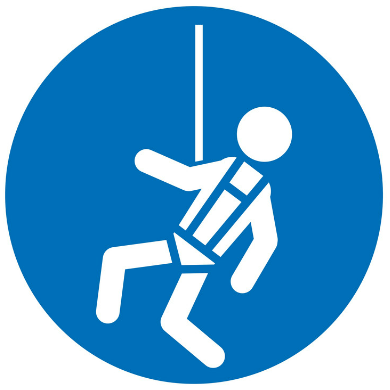
Wear Harness: Safety harnesses should be worn whilst carrying out any task where there is a risk of falling. |
 Floating device: This sign displays the importance of putting on a floating device in order to avoid the risk of drowning. Floating device: This sign displays the importance of putting on a floating device in order to avoid the risk of drowning. |
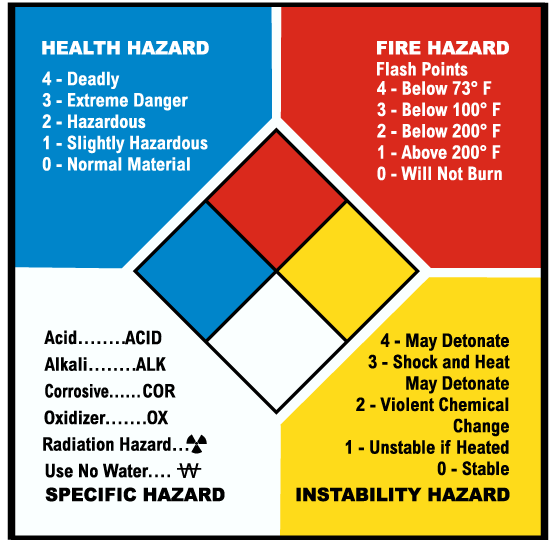
The NFPA hazard rating system uses three color codes and five intensity levels ranging from 0 to 4 (see image below).
- Each color code (blue, red, and yellow) corresponds to a hazard: health, fire, and instability.
- Inside each colored section, a numerical rating is given to the hazard. A rating of 4 is the highest. If a 4 is in the yellow section of the hazard rating system, then the material should be considered extremely instable (may detonate) and therefore dangerous.
- Within the NFPA hazard rating system, there is also a white colored section. This section is often left blank, but if a material presents a special hazard, such as a material that is radioactive, then this section would be used.
4. How can I specify Risks & Safety options inside LabCollector ?
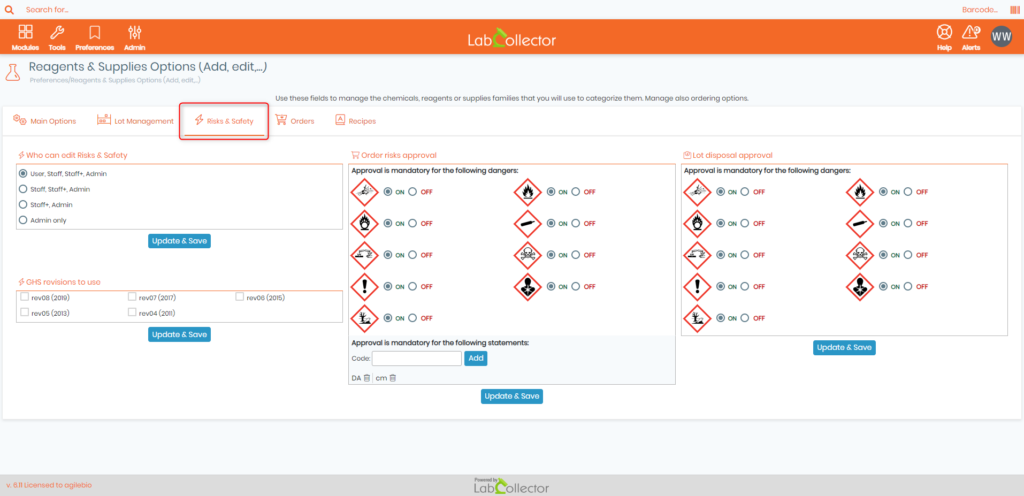
b) You can also choose who can edit Risks & Safety options, such as setting the approval to mandatory for ordering and/or disposal of certain reagents and supplies with specific pictograms. To do so, you need to go to Preferences -> Reagents & Supplies
You will then get the following tab (click on Risks & Safety as shown in the screenshot below):
Please refer to section 3 of this KB for more details on what each option corresponds to and how you can configure your Risks & Safety preferences.
Related topics:
- Check our Knowledgebase on risk codes.
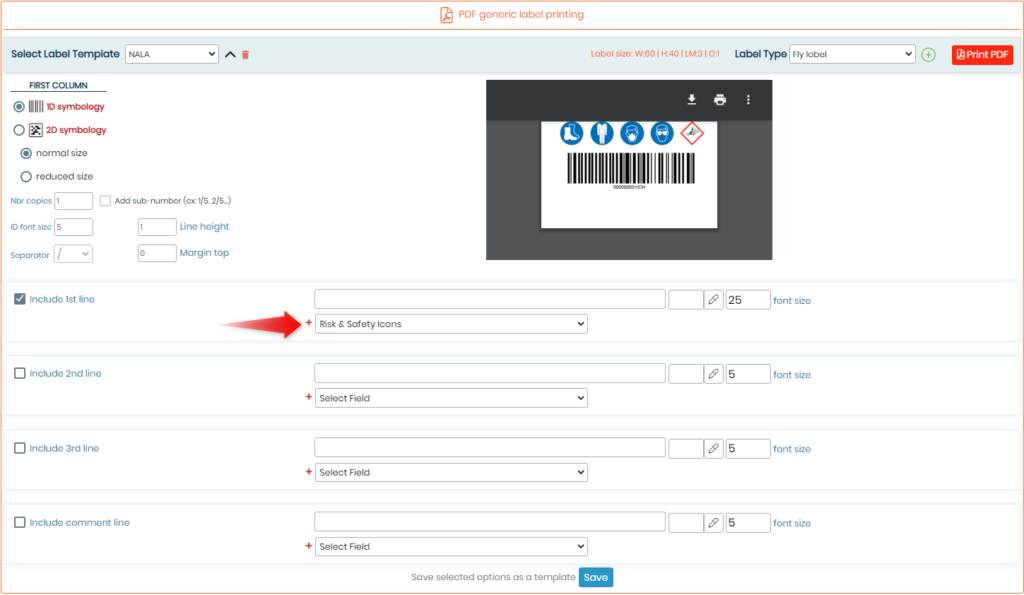
- See how to print risk & safety data information.
- Check what are the ISO17025 compliancy requirements.
- Take a look on how to set your reagent & supplies preferences.


