3.1.6 Lab name, logo, modules name, google translation
In this section, you can change the Lab name and logo.
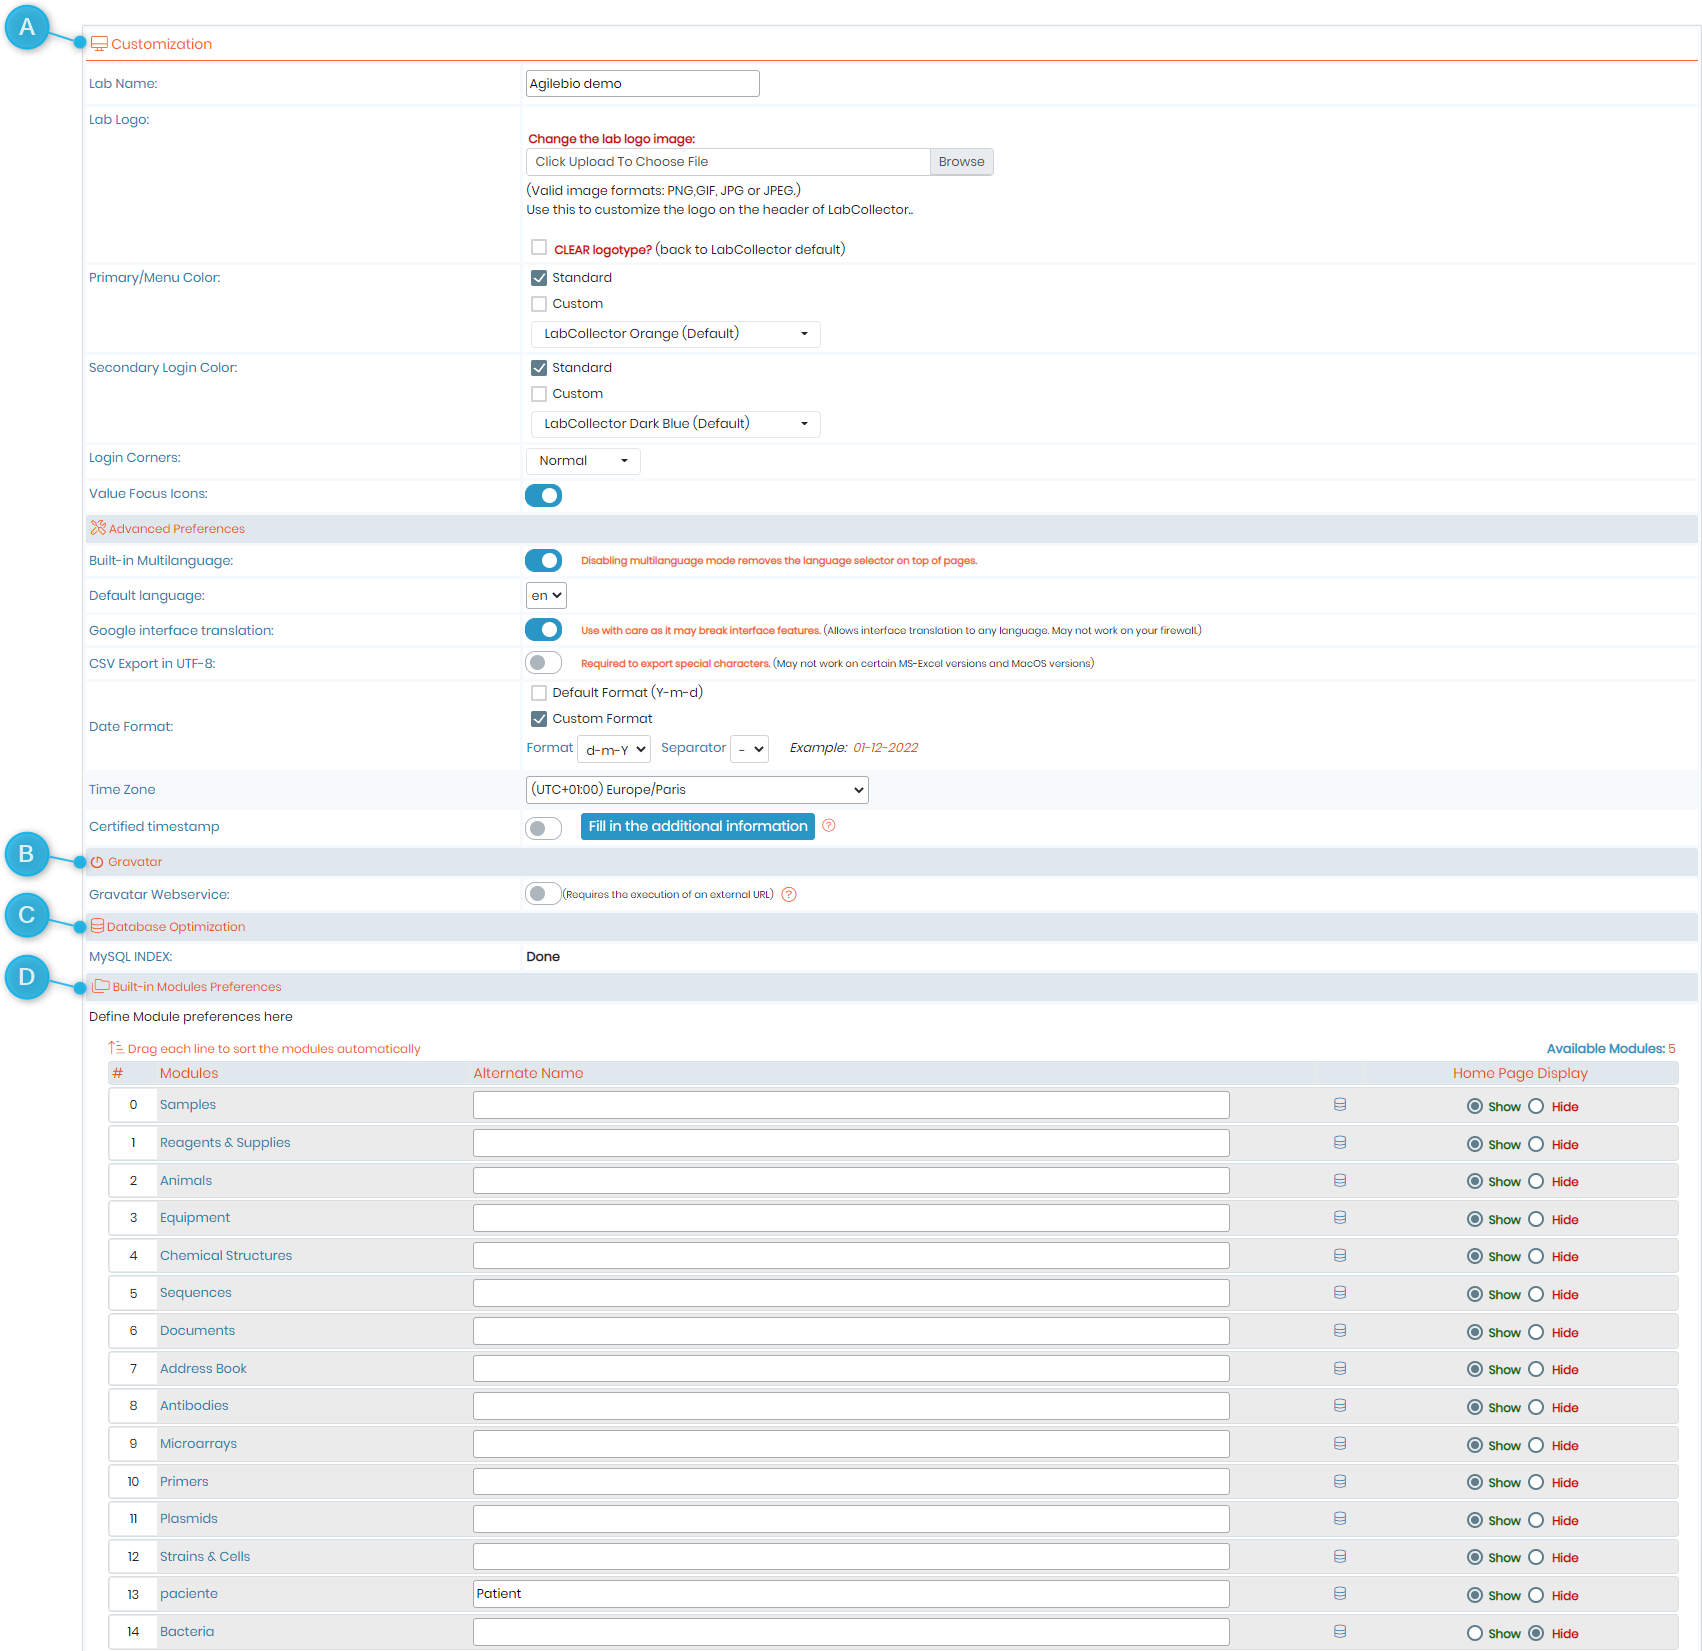
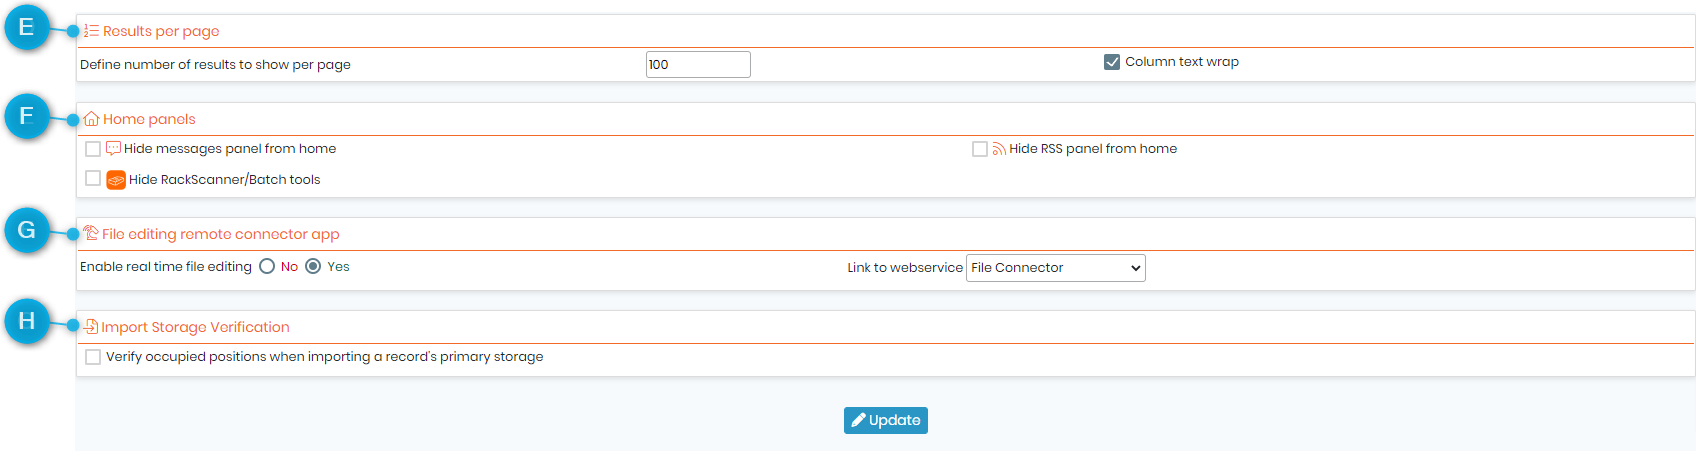
All the above points are explained in the  KB: LabCollector general setup- 6. General settings, logo, modules names, etc.
- A.Language:
You also have access to language options in option A in above image. Each user will have the possibility to select his language by default and from time to time (see  section 2.5). The super-administrator can select a general default language and turn off the time-to-time selector.
Language options are also possible as the Google interface translation option for a multilingual interface to use LabCollector with a selected language. To do that, just tick the box “Google interface translation”. The LabCollector interface will be translated by Google.
- A.CSV Export in UTF-8:
If you use special characters in your data, tick the box CSV Export in UTF-8 to have the possibility to export them in CSV.
- A.Date format & Timezone:
NEW! Super-administrator can now define a custom date format. By default, the date format used in LabCollector is the SQL format so Y-m-d (Year-month-day). Now, you can select the separator between - and /, and one of the custom formats as below:
|
d-m-Y |
Example: 28-01-2020 |
|
m-d-Y |
Example: 01-28-2020 |
|
d-M-Y |
Example: 28-Jan-2020 |

NEW! Now you can also adjust the time zone according to your region.

NEW! LabCollector also provide an easy method to apply RFC 3161 trusted timestamps to time-sensitive transactions through independently verified and auditable date and UTC (Coordinated Universal Time) sources.
Time stamping can be used to independently and irrefutably prove the time of a transaction, the time a document was signed and when it was archived.
Tips/Hints
You can change the color of your instance's header by selecting the preferred primary/menu color, and also that of the login page by selecting the preferred secondary login color.
- B. Gravatar:
NEW! Now you can access the gravatar webservice as well in LabCollector to personalize your login image. If you don't want the gravatar to be used you can leave the box unchecked.

- C. Database optimization:
To optimize search and filter results in your database if you have a lot of data, check the box Yes, create Indexes to optimize searches. This option is automatically selected for new installations.
- D. Built-in module preferences:
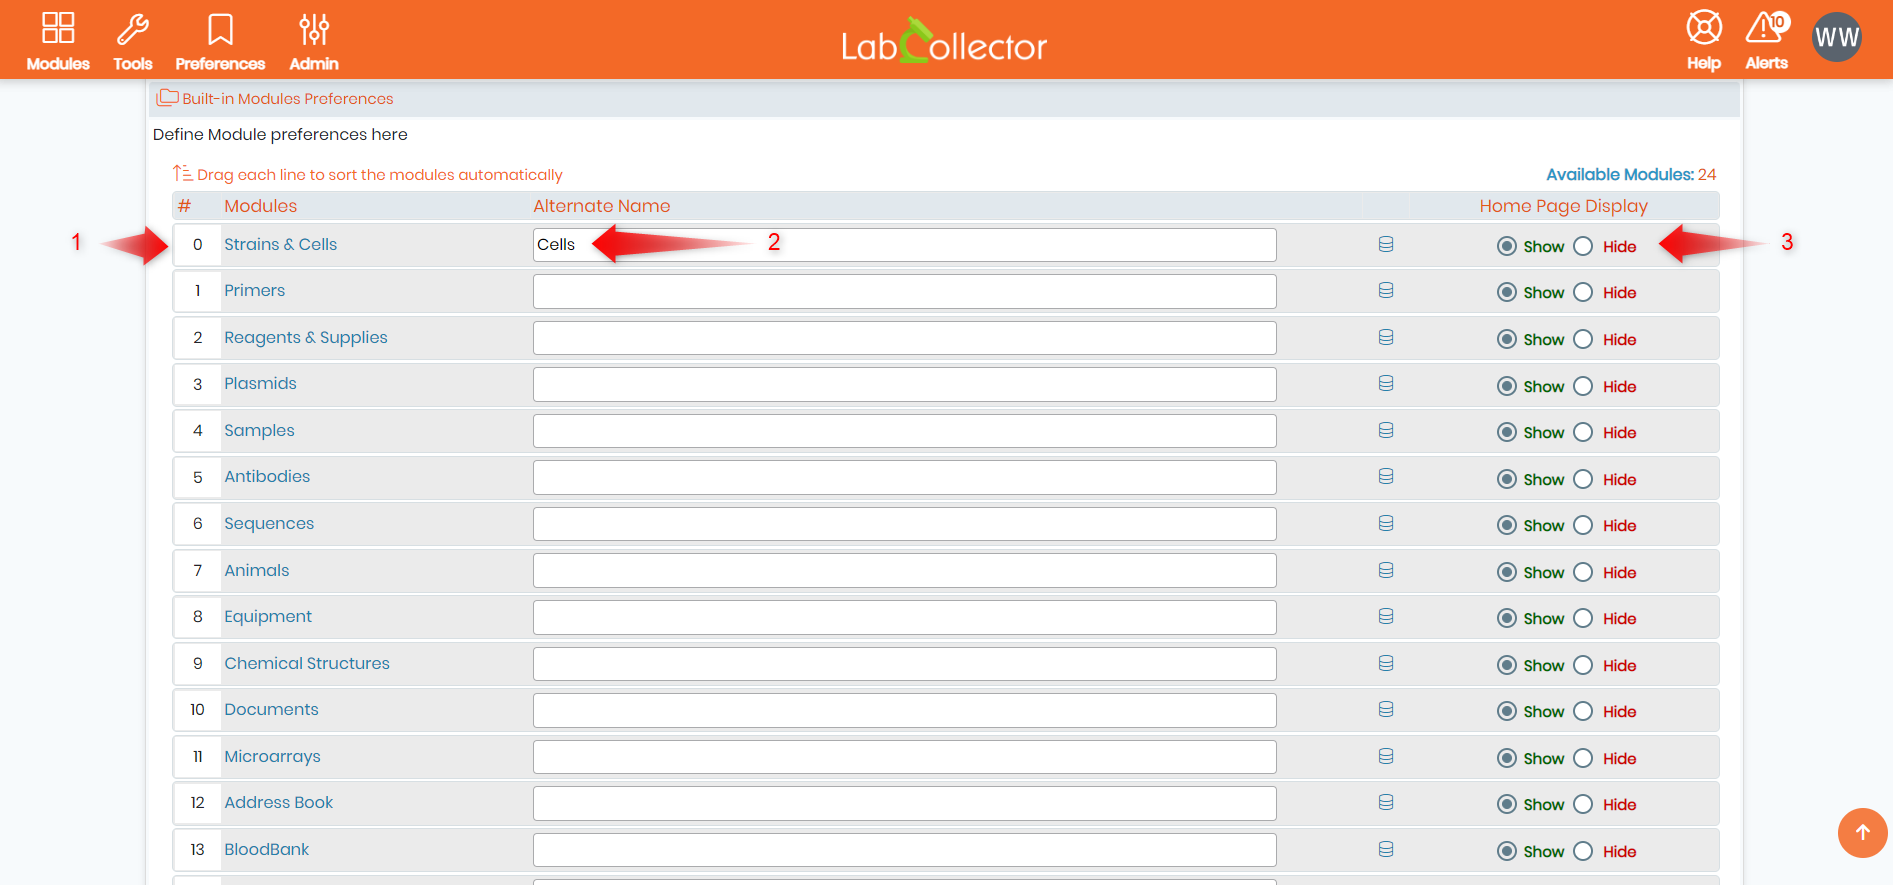
You can also organize and rename the module icons on the default home page. Please, refer to the numbers indicated in the screenshot above:
1: You can drag up or down any module and change it's order of appearance on your main LabCollector page.
2: You can change your module's name by typing an alternate one.
3: You can decide whether you want to show or hide a certain module on the home page. When you hide a module, you obtain one credit to create a custom module (see  section 5.4).
- E. Results per page:
The number of search results shown per page can be changed as well. NEW! By default, the summary line truncate values that are too large (Display A). If you check the box “Column text wrap”, the values will be displayed entirely on double lines (Display B).

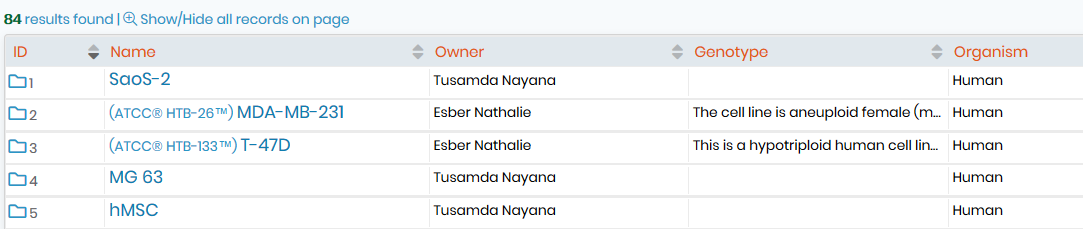
Display A, without the column text wrap option.
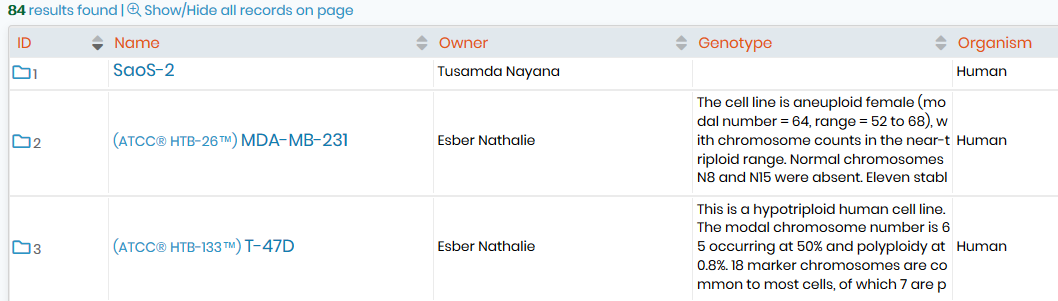
Display B, with the column text wrap option.
- F. Home Panels:
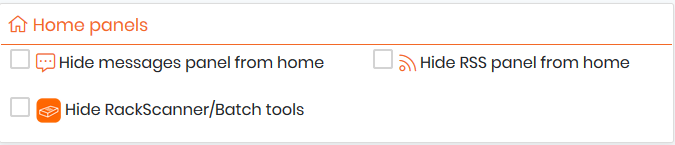
The super-administrator can choose to remove the messages and the RSS panels from the homepage by checking the boxes below and the Rack scanner/batch tools also.
- G. File editing remote connector app:
NEW! The File Connector application is a new Windows application to allow the user to modify the documents downloaded in LabCollector without uploading them and save them again.

Here, you have access to the setup from LabCollector. If you enable this application, you need to link it to a web service (see  section 3.1.5) and select the port. By default, the port is 5050 and can be changed in the settings of the application.
All the above points are explained in the  KB: How to download & install File Connector.
You can read the  KB: how to use the File Connector software.
- H. Import Storage Verification:
NEW! The last option on this page of setup is linked to the storage import. Using the import tool under Admin > Data > Import, you can in modules linked to the storage system import the main locations of the record. By checking this box, the system will check if the position in the box is already used. It is an option because it requests more resources than a simple import.

Once you are done, don't forget to "Update" the settings, for them to apply.