10.2.1 Generic printing
- Generic printing:
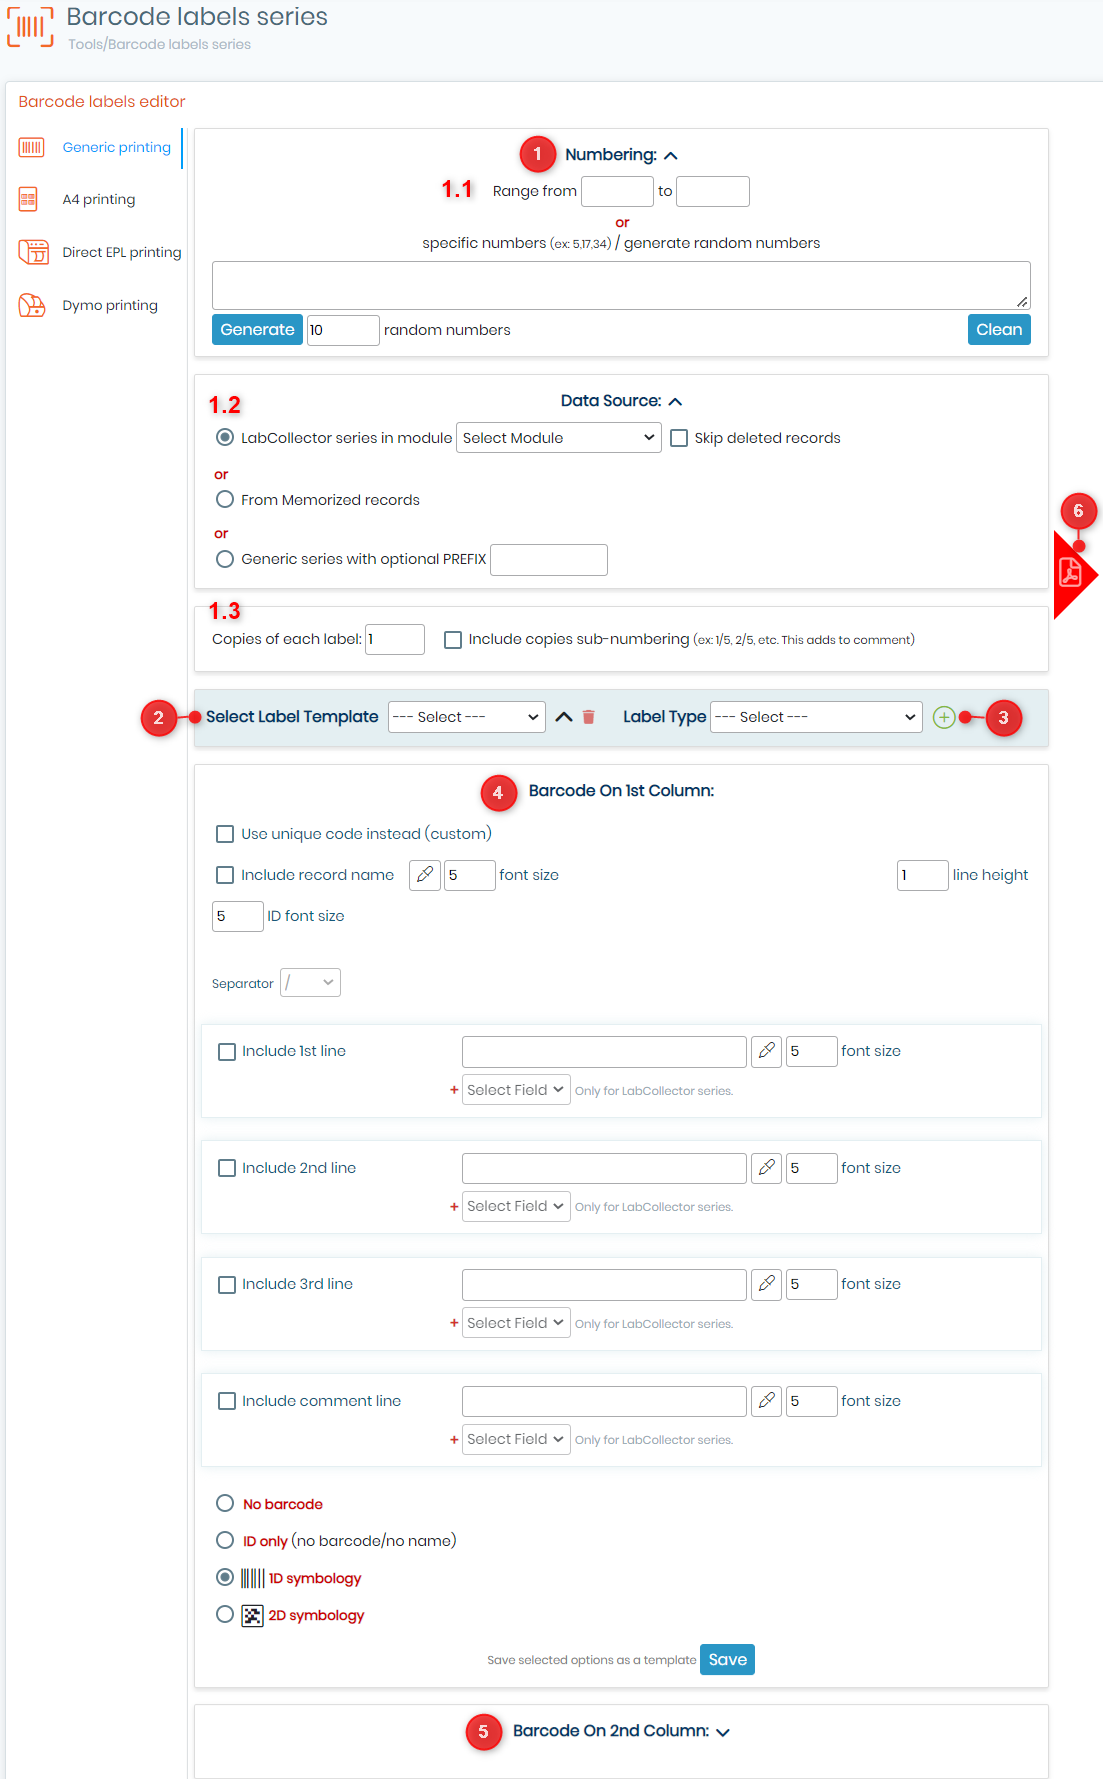
- Choose your numbering option (continue or discontinue list or generic series).
- You can choose the range of the records ID or specific numbers or you can generate random numbers.
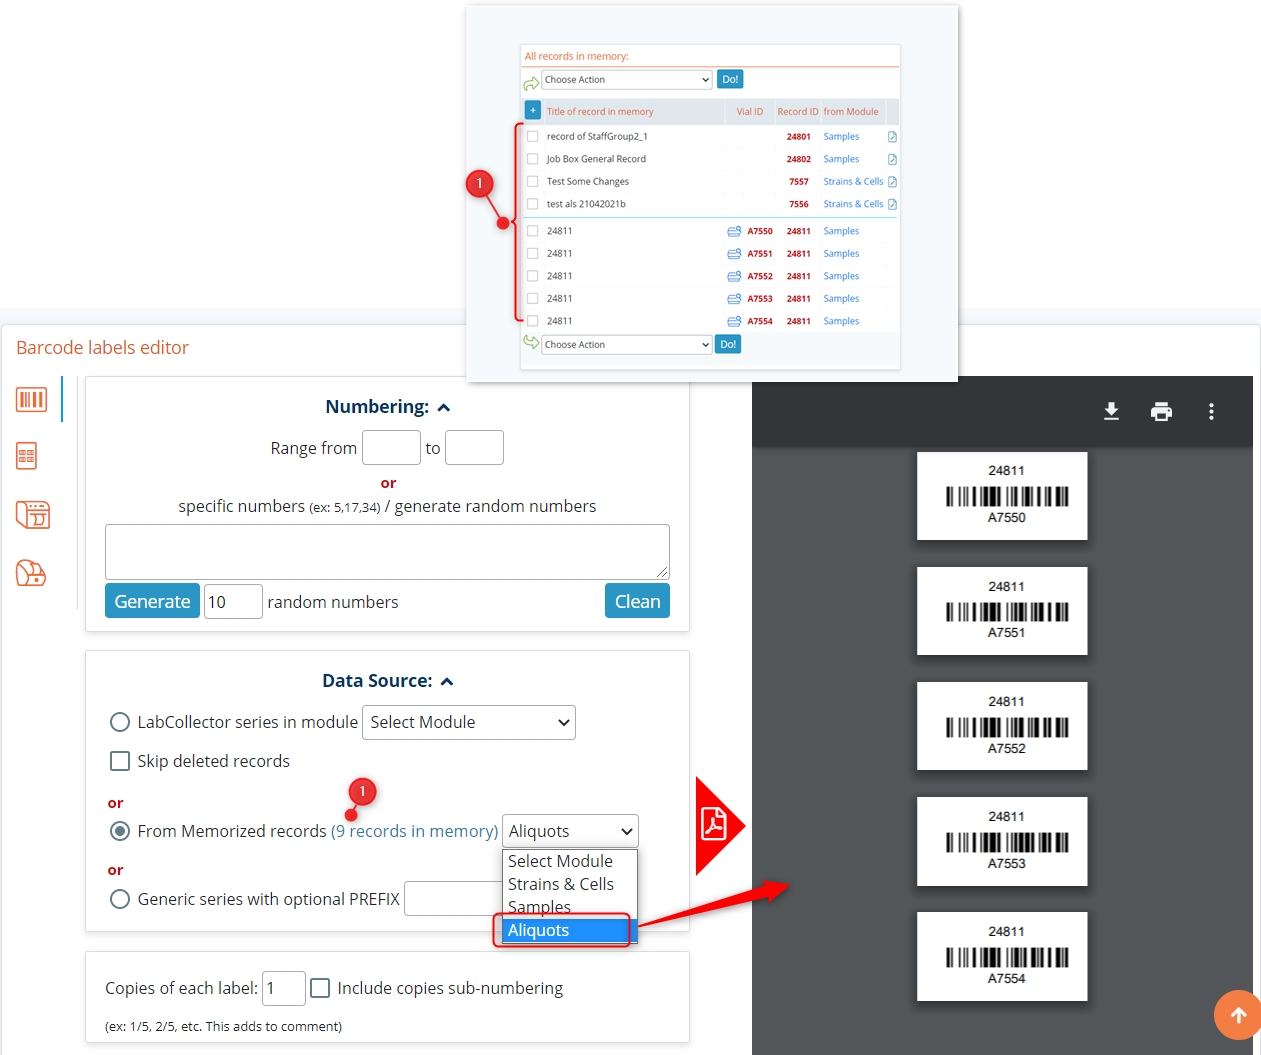
- Here you can choose the series from any module in labCollector. You can choose to skip deleted records or from memorized records or a generic series with a prefix.
NEW!: Now you can also skip the barcodes for deleted records.
|
|
|
You have the possibility to manage and print all memorized items at once. (As shown in the screenshot below). |

- You can choose how many copies of the label you need.
- Here you can create or select the template associated with the label. To create the label template click on the
 icon, and you will see the below drop-down. *In the below example we have created the fields for example purposes.
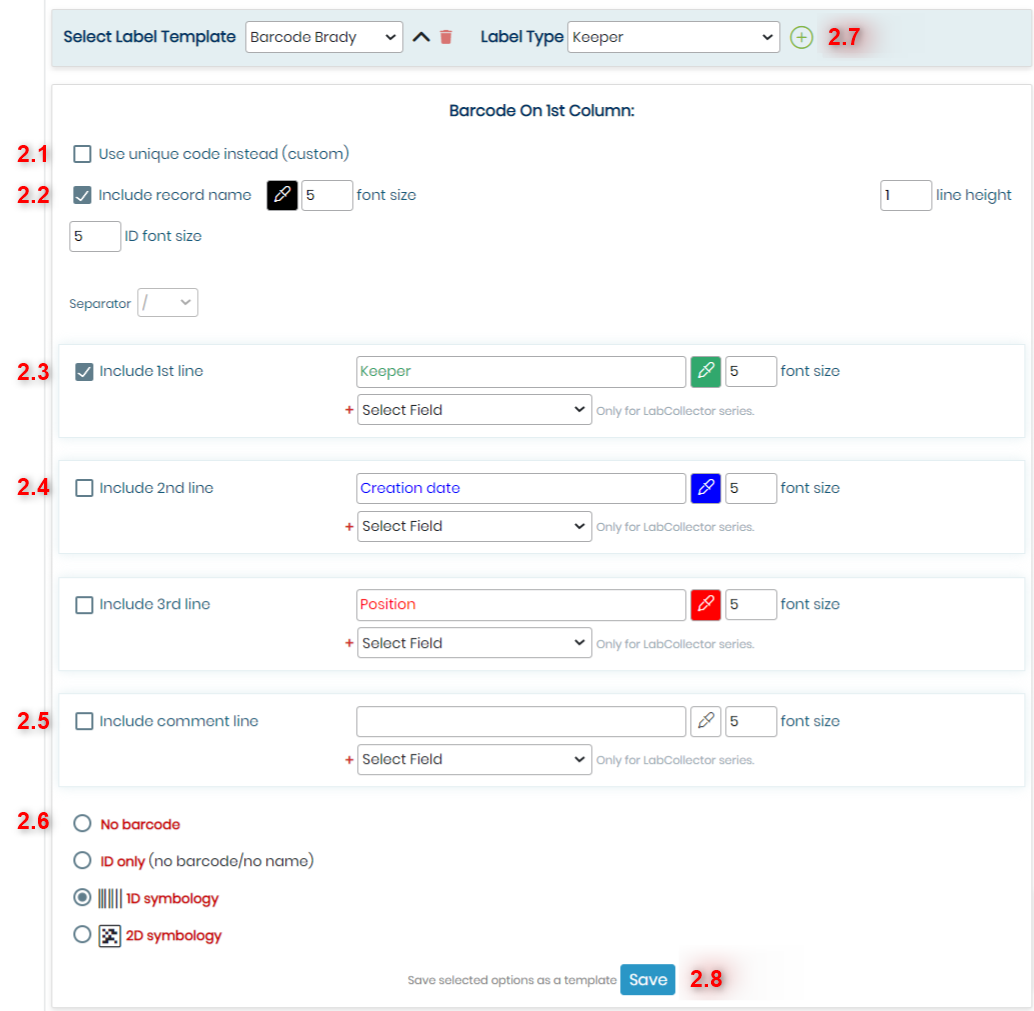
- You can choose to use the unique LC code of your record within the first column.
- Here you can choose to include the record's name and even choose its color, font size and line height.
|
|
|
The maximum line height you can set for 1D barcode is 3. |

- You can choose the 1st line options with the field you want + 1 field of choice from the drop down with its color and font size.
- Here you can check the box to include a 2nd line and choose the field you want + 1 field of choice from the drop down with its color and font size.
- This option includes a comment with the field you want + 1 field of choice from the drop down with its color and font size.
- Here you can choose whether you want no barcode, an ID only or you want a 1D or 2D barcode.
- You can choose the labels. You can add new labels with the
 sign or Admin 🡪Other 🡪Setup 🡪Printer & labels.
See our  KB: how to add label types.
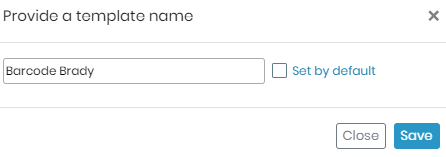
- Once you have added the option of your choice you can click on save the template and you will see the below pop-up to name the template. You can also choose to set the template by default. Once you name it you can click on save.
- Here you can select or add the labels.
- The choice of template you made in point 2, will be the barcode one where you can select to add the record name with color and font size and if you want a barcode or 1D or 2D barcode.
- You can choose 2 barcodes by selecting the barcode. You can choose the name of the record or duplicate the information from barcode on 1st column.
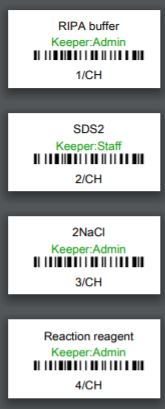
- You can click here to print the pdf. See the example image below. The settings are same as the point 2 image above.
NEW!: You have the option to include the project code of your record when label printing, you must first enable the "project code" field in your module, by going to "Admin -> Custom fields", when you are ready to print your record label, all you have to do is include the project code as a line within your label.
NEW!: You also have the ability to add the main storage box positions, main storage box, box details and even box ID to your labels, by simply selecting the corresponding field in any of the lines.