Search Knowledge Base by Keyword
How to search in LSM?
SUMMARY:
LSM add-on is for test labs where it offers to create jobs for tests, reports, invoices, and many more options to make testing more efficient. As a lab can have a lot of tests and their results LSM offers few ways to search for jobs, assays, and samples in the LSM.
Below are the ways to search in LSM:
1. General search bar
2. Sample filter bar
3. Barcode search
4. Filter bar
1. General search bar
- This option can be used to search names or IDs of the job, test & samples.
- You can find this bar in JOB -> JOB LIST
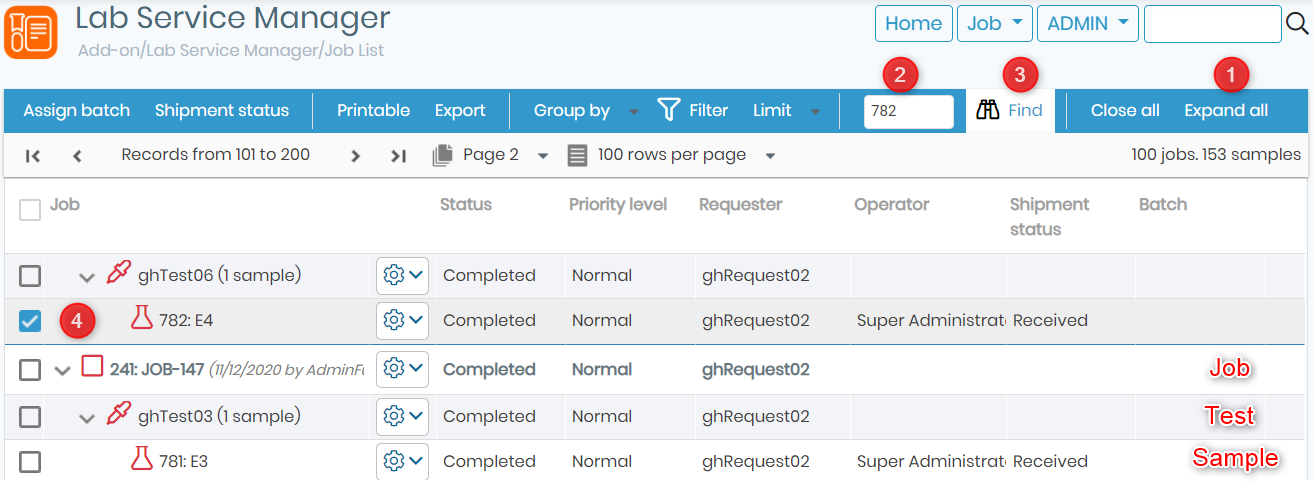
- 1. Before using the general search bar, you need to click on “Expand all” to open all the jobs for tests and samples to be visible.
- 2. Type the number, ID, name of a job, test or sample that you want to find. For example we have typed the number a sample ID.
- 3. Click on “Find” button.
- 4. Your result will be visible and to highlight the result the box will be checked next to the result tab.
* The result will be shown from all the records or pages present in LSM.
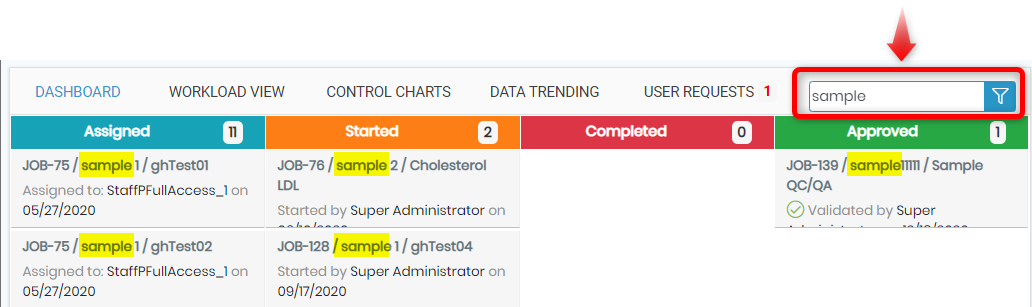
2. Sample filter bar
- This bar is on the home page of LSM add-on.
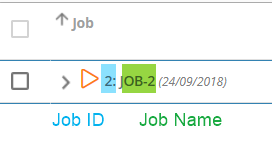
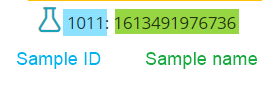
- It ONLY performs search based on Sample name.
- Sample name on dashboard are present in between the job name and test name. *Highlighted in yellow.
- You will see all the relevant samples
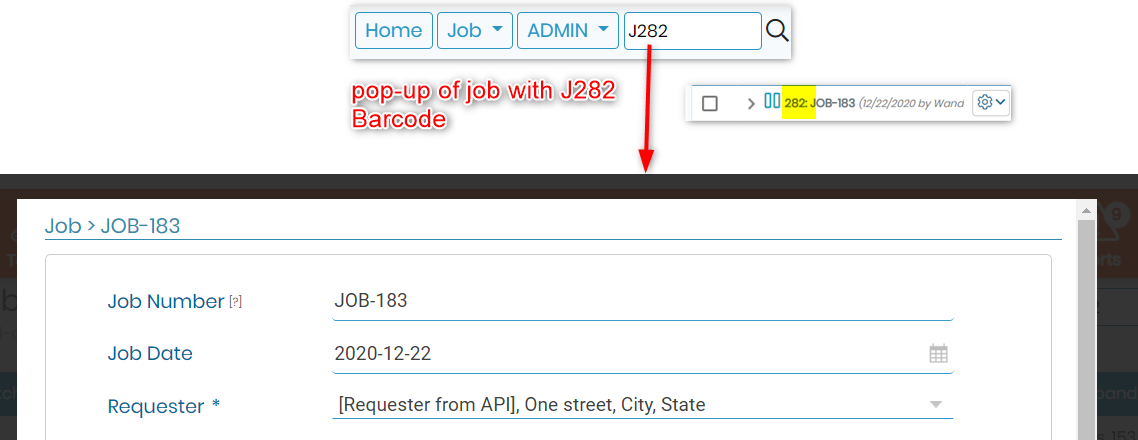
3. Barcode search bar
- This search bar is present near the options in LSM.

- You can search by barcode in this search bar.
- You can search barcodes of either Jobs or Samples.
- To search jobs barcode you need to type Jxxx.. where xxx can be replaced by barcode number.
- When you click on search button, the job with the barcode ID will pop-up.
*The barcode will not be visible in the pop-up. Generally it is present in the JOB -> JOB LIST in front of the job.
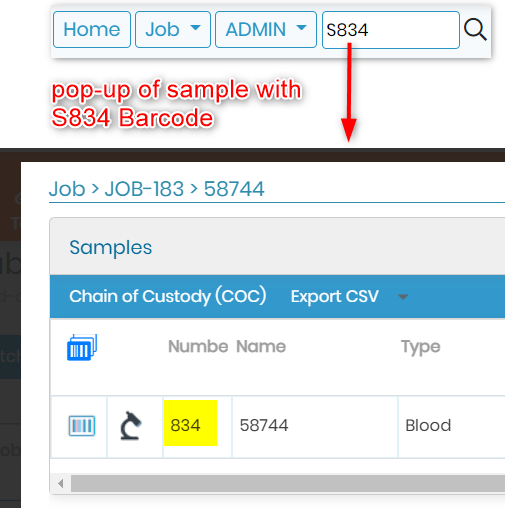
- To search samples barcode you need to type Sxxx.. where xxx can be replaced by barcode number.
- When you click on search button, the sample with the barcode ID will pop-up.
4. Filter bar
- This bar is present in JOB -> JOB LIST
*You can use the options individually or in combination to have a specific search.
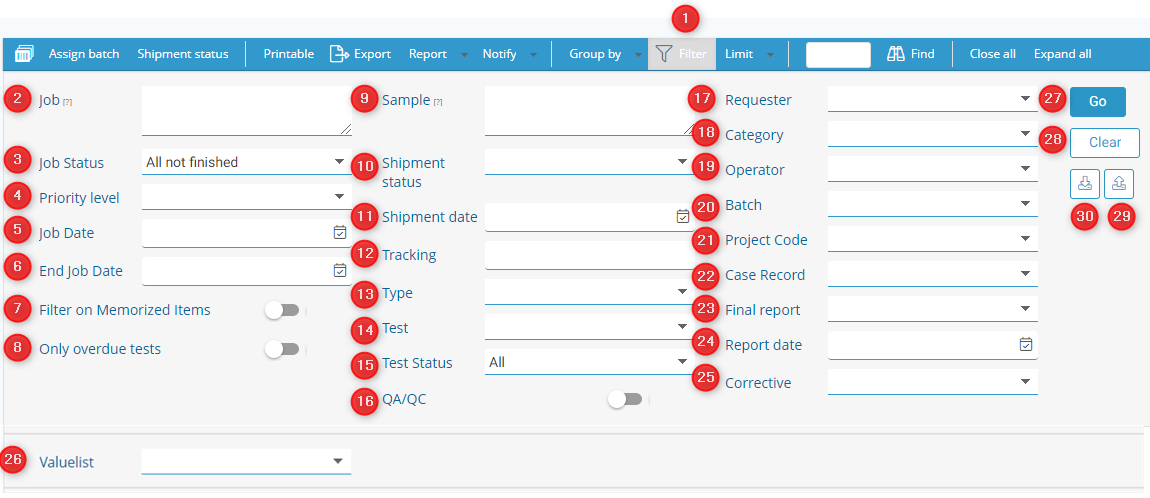
- 1. Click on the “Filter” option. Various options will pop-up. Like in above image.
- 2. Job: If you put a number for example 12, all jobs that have this number in their ID or name will be filtered. You can filter all jobs with number or name.
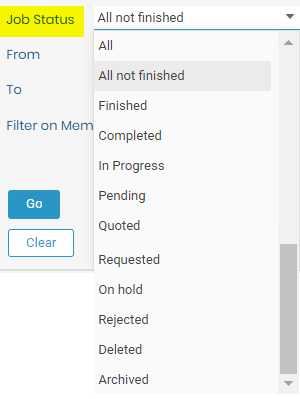
- 3. Job Status: You can filter all jobs according to their status. See the below image.
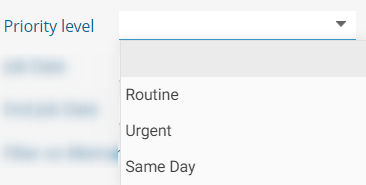
- 4. Priority level: You can select and filter jobs from priority levels. When you create a job by going to JOB -> ADD JOB you can fill “Priority level” tab where you put the job is normal, to be rushed or slow. You can rename the different priority levels as you like by going to ADMIN -> SETUP -> PRIORITY LEVELS.
- 5. Job date: refers to dates that jobs were created on. When you open a job, you can see the job date in default fields.
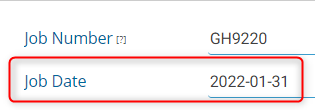
You can select range of date using the filter.
- 6. End job date: You can filter the jobs when jobs ended/validated/Approved/Finished. You can choose from a range of date if you need, just as shown in job date filter video above.
- 7. Filtered on memorized item: You can filter jobs based on memorized items. If you have recently memorized items in LabCollector, the you can filter jobs based on those memorized items.
*Please read our KB on how to memorize items & manage memorized items. - 8. Only overdue tests: This allows you to show only in jobs that were overdue. It is calculated internally with the estimated end date (Received date + Default hours)
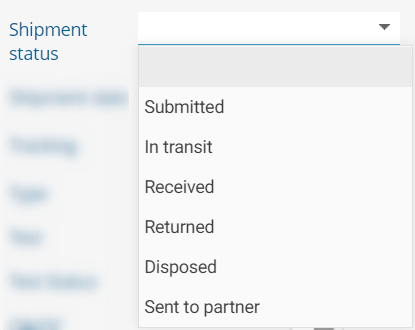
- 10. Shipment status: You can filter by shipment status of sample if they are received/returned/in transit or submitted. You can now also dispose your samples after a certain validity period. If the sample is send to other laboratory then you can add the status as “send to partner”.
- 11. Shipment Date: You can filter by shipment date (sample received date). It can be a range of date as shown as job date video above.
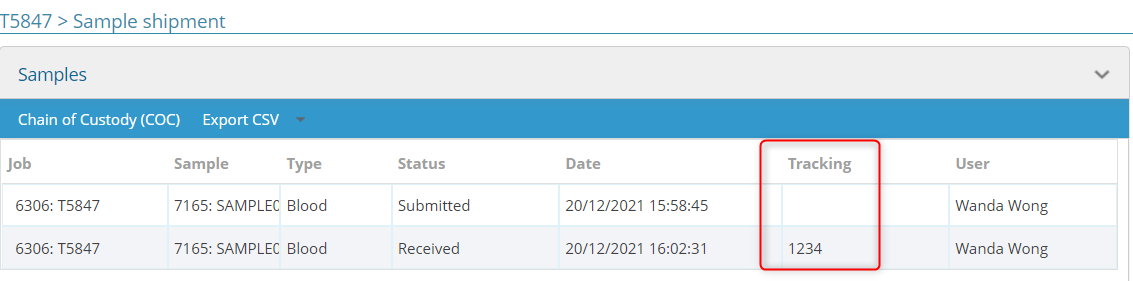
- 12. Tracking: You can filter jobs with samples that have a tracking number. This is when the sample are shipped from sample collection center to the test lab. You can add a tracking number to samples, by checking the checkbox in front of them and clicking on “shipment status”. This tracking number can also be updated using sample receiving add-on.
You can see this tracking number when you open a JOB -> OPTIONS-> FOLLOW UP –> SHIPMENT STATUS (like below image)
*Please see our Knowledge Base on how to create a package in sample receiving.
- 13. Type: This will allow you to filter jobs/samples based on sample type.
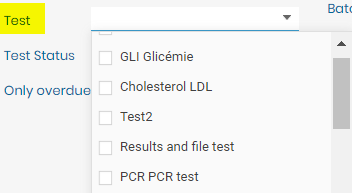
*Please see our Knowledge Base on how to add sample types in LSM - 14. Test: You can filter items based on specific test name. You can create test by going to ADMIN -> PREFERENCES-> TEST
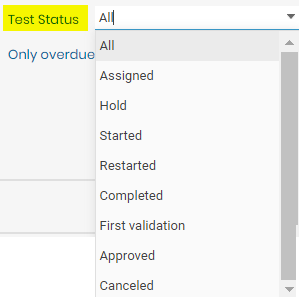
- 15. Test status: You can filter items based on specific test status.
- 16. QA/QC: You can now filter jobs based control and data trending tests that you have performed.
*Please see our Knowledge Base on how to add control charts in LSM
*Please see our Knowledge Base on how to add data trending charts in LSM - 17. Requester: You can filter jobs according to your different requesters. You can create requester by going to ADMIN -> CONTACTS-> REQUESTER.
- 18. Categories: You can now add different tests into specific categories. This filter allows you to filter jobs based on categories of tests.
These categories can be created by going to ADMIN -> PREFERENCES-> CATEGORIES.
*Please refer to this LSM online Manual page on LSM test categories. - 19. Operator: You can filter your results based on the operator of the test. When you create the test by going to ADMIN -> PREFERENCES -> TEST you need to fill the operator tab. This is a person who will work /perform on the test.
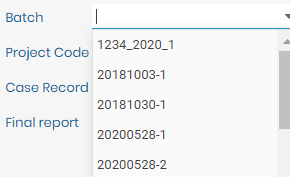
- 20. Batch: Here you can filter jobs according to Batch number/name. You can select from the drop-down list.
- 21. Project code: when you create a job, you can add a project code. You can filter your results based on different projects. To create a project code go to TOOLS -> MANAGE PROJECT CODES in LabCollector. You can select from the drop-down list.
*Please refer to this LSM online Manual page on LSM project codes. - 22. Case Record: Here you can filter records according to ‘Case Record”. This can be a patient, or an animal or plant or a fly (drosophila), etc., basically referring to records created in a custom module in LabCollector and the this module is connected o LSM.
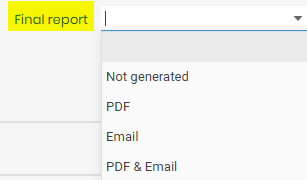
*Please see our Knowledge Base on activating case record. - 23. Final report: You can filter results based on type of result report you have chosen in the test or the jobs where the report is not generated.
You can also see the format of report, by going to JOB -> OPTIONS -> REPORT-> LOG

Please see our KB on how to create a test and report in LSM.
- 24. Report Date: This filter helps you with the report date, meaning date when the first time the pdf report for a job was generated/opened. You can choose from a range of date if you need, just as shown in job date filter video above.
You can also see this by going to JOB -> OPTIONS-> REPORT-> LOG.

This date corresponds to the report copy certified date at the bottom of the report pdf.

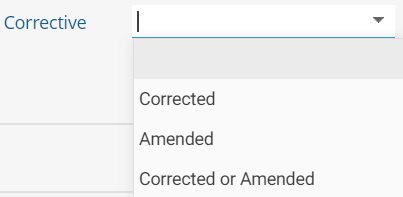
- 25. Corrective: This option will help you to filter jobs that were either corrected or amended.
*Please see our Knowledge Base on how to amend or correct jobs in LSM.
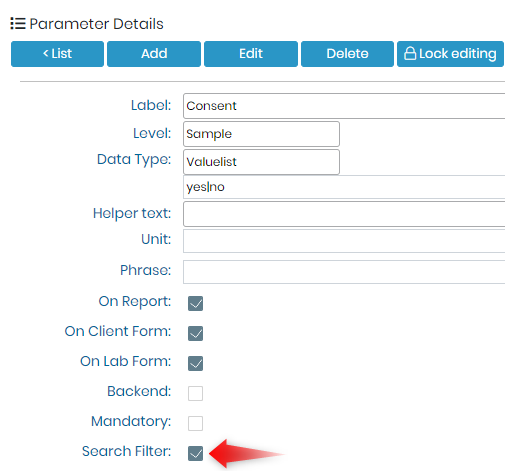
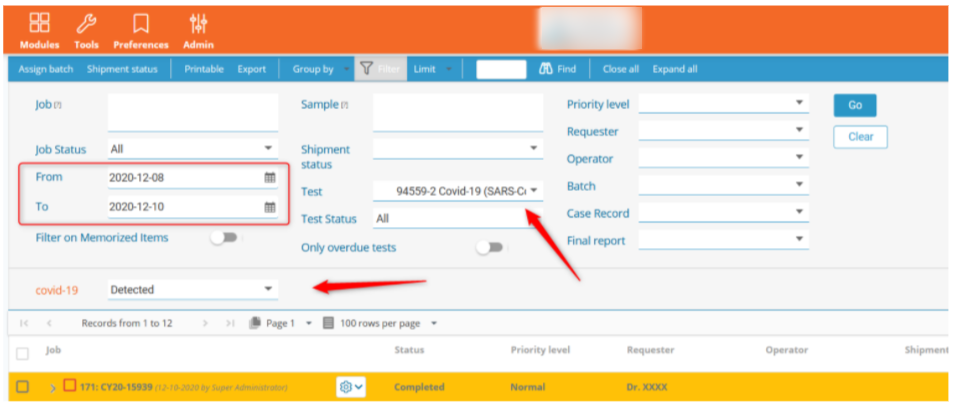
- 26. Custom field/Parameter: This is a custom field that you can create by going to ADMIN -> PREFERENCES-> PARAMETERS. When you create the parameter, remember to check the box in front of “Search filter”. For example like below image. This option then will be seen in the filter options them
You can keep for example, a result parameter and help filter results based on that parameter. For example if the result parameter is COVID and the value list contains “Detected” , “Not Detected” and “Inconclusive”. for example you can use the combination like below.
- 27. Go: Once you have selected all he options you can click on “Go”.
- 28. Clear: If you want to clear all filters with already selected options, click on “Clear”.
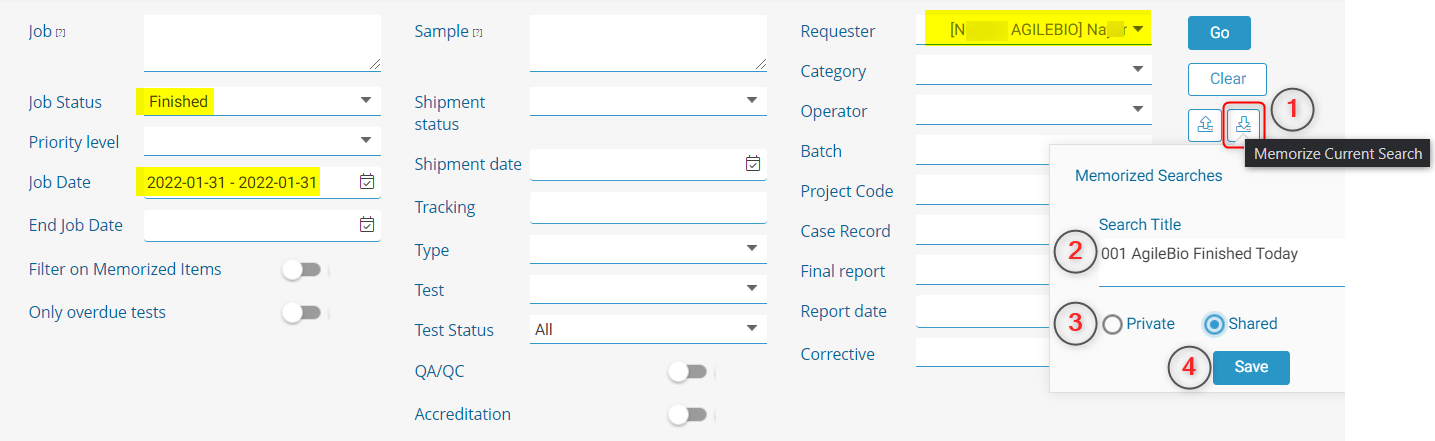
- 29. Memorize Current Search: You can now save the searches in LSM. If you perform certain daily searches with certain filters, now you can save these searches. You can edit the searches, but you can edit name.
For example like image below, you can save a search.
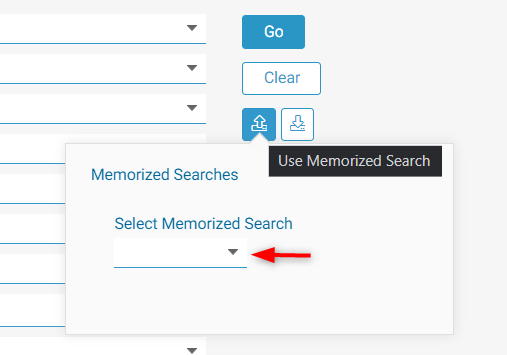
- 30. Use Memorized Search: You can select from the saved searches in the dropdown list that you will see. One your search is selected, you can click on GO, to perform the search.
Related topics:
- Please check our KB on how to start with LSM add-on
- Please see the KB on how to create invoices.
- Please read our KB to know more about how to create parameters.
- Please read our KB to know more about how to activate case records.
- Please read our KB to know more about how to create reports.
- Read our manual on LSM.
- Check our KB on LSM usage guide from jobs to reports creation.
